Start with the cake. Preheat the oven to 180’C (350’F) and oil + line 2 6inch/15cm round cake pans, dust a little flour and set them aside.
In a large bowl, combine the almond meal, baking powder and salt. Set aside.
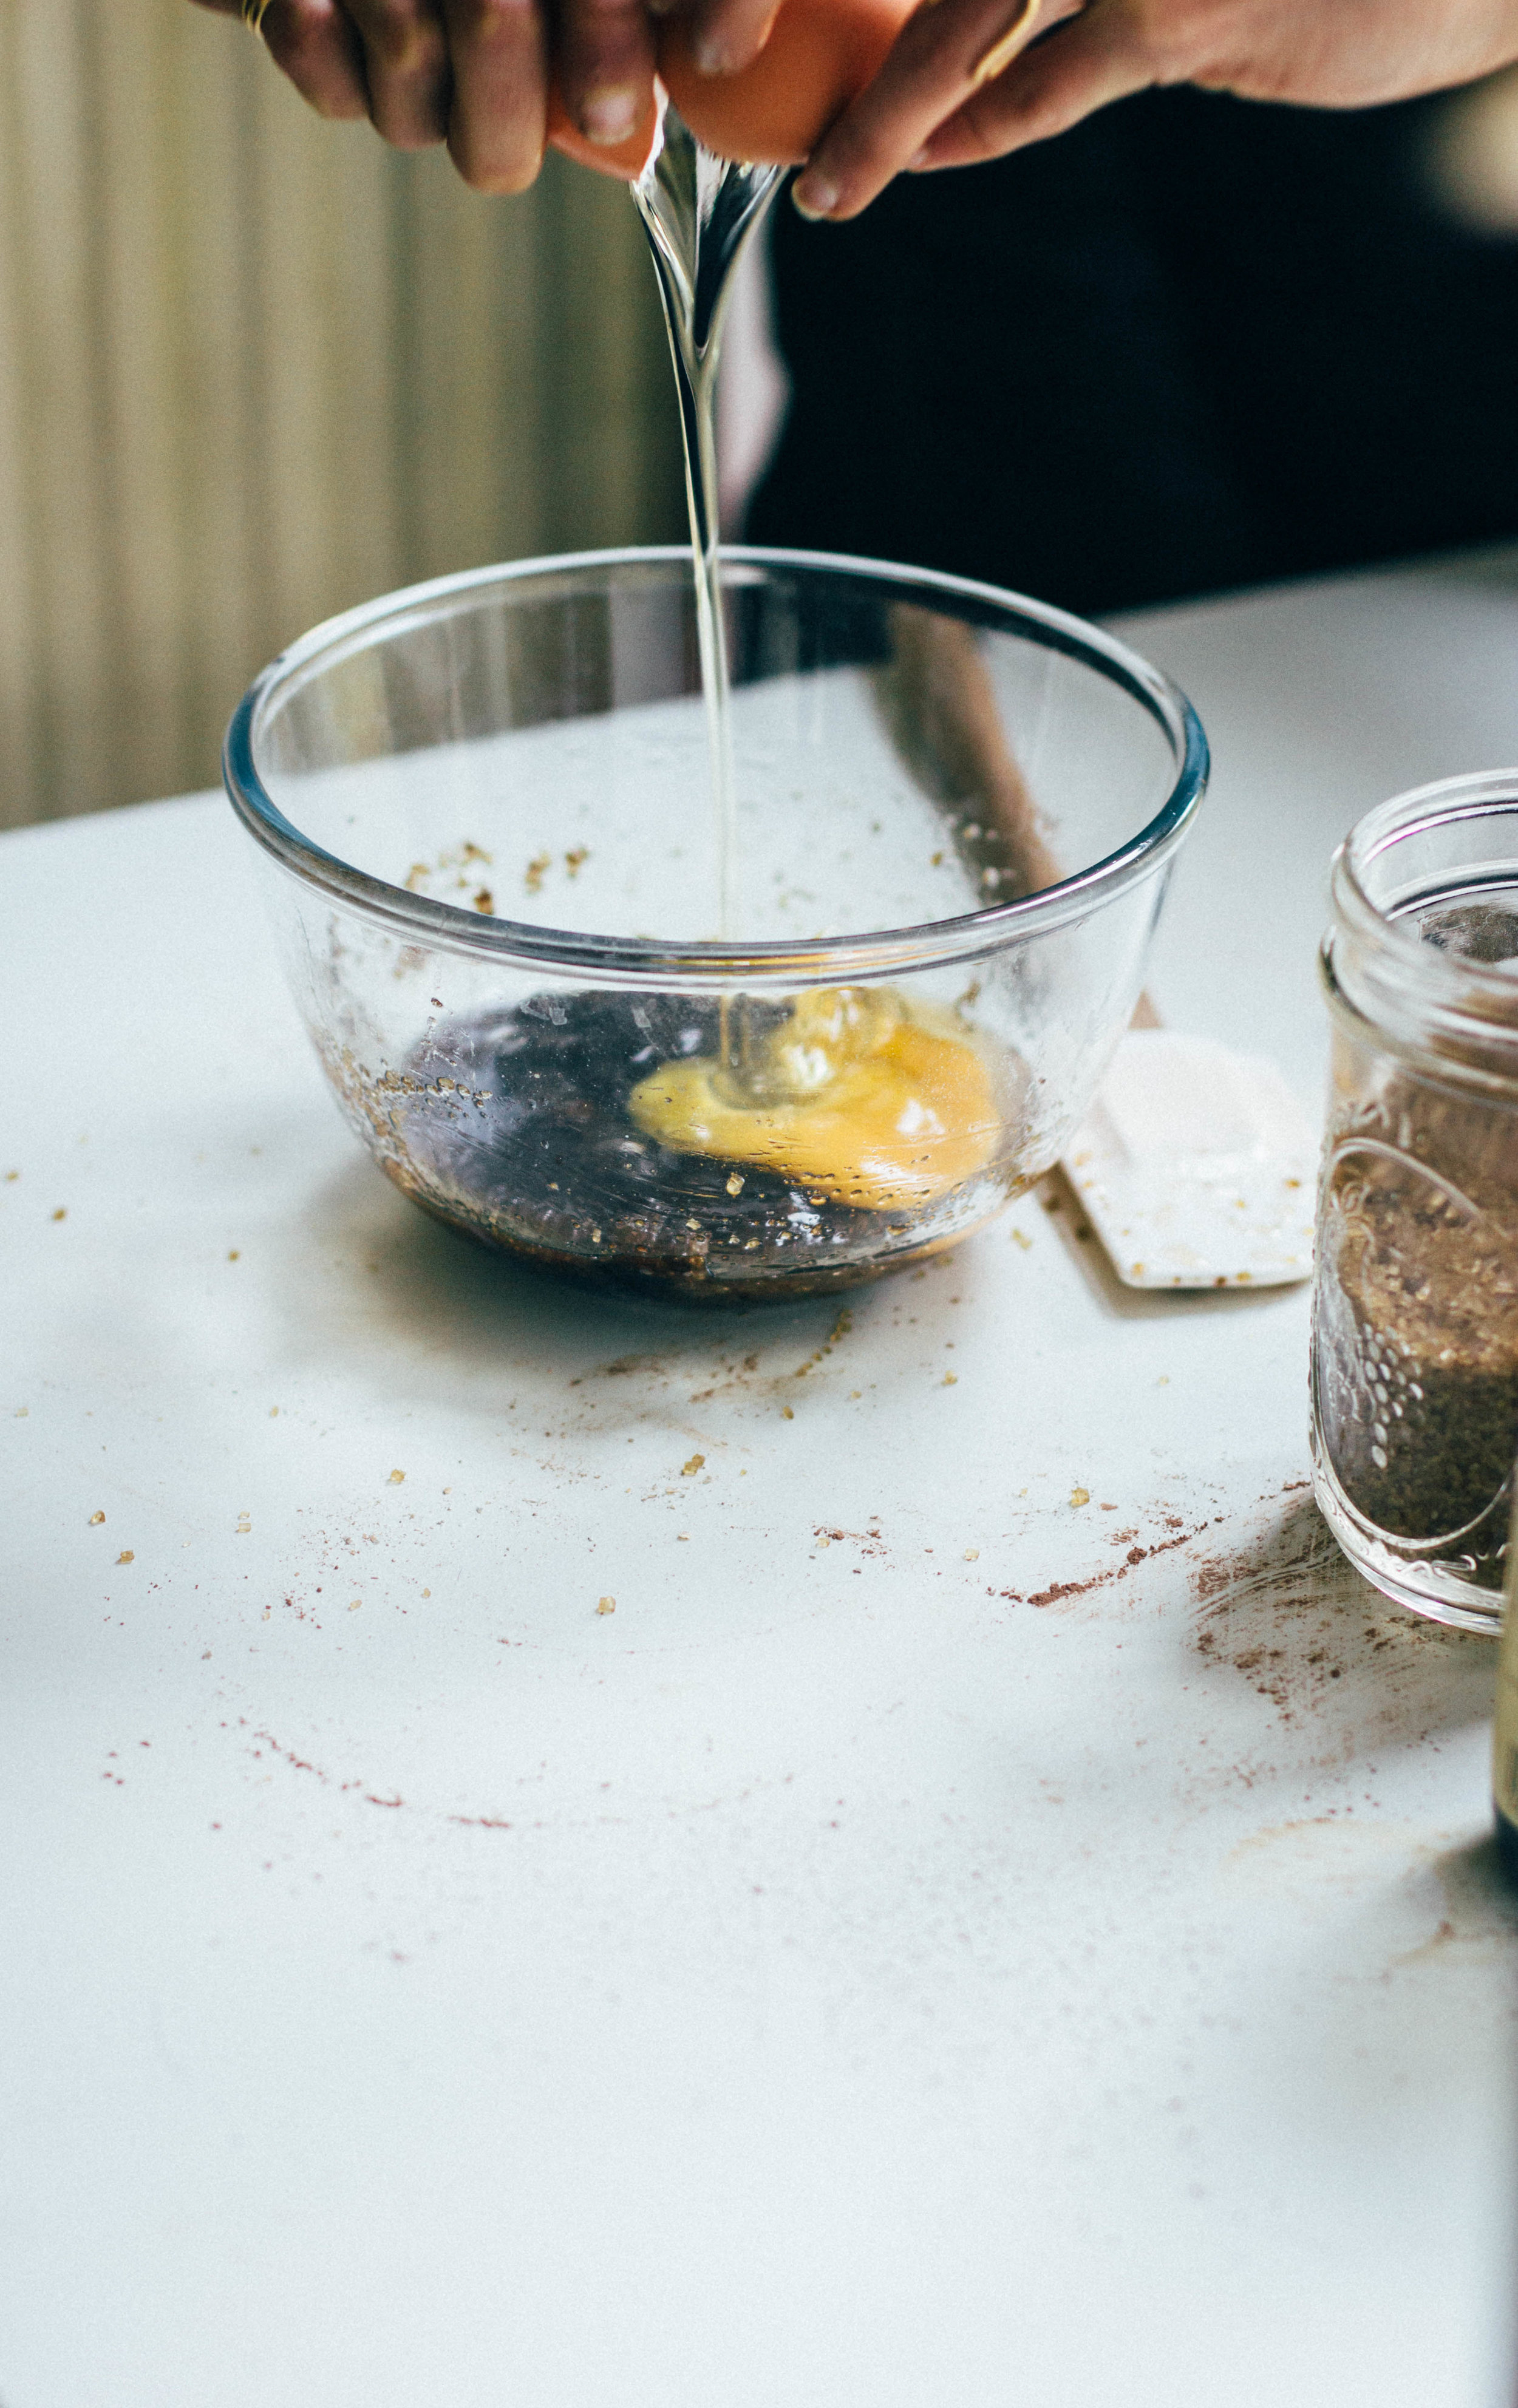
Separate the eggs – if you have a stand mixer, crack the whites into the bowl; otherwise crack them into a large metal/glass bowl, check the bowl is very clean which helps them fluff up.
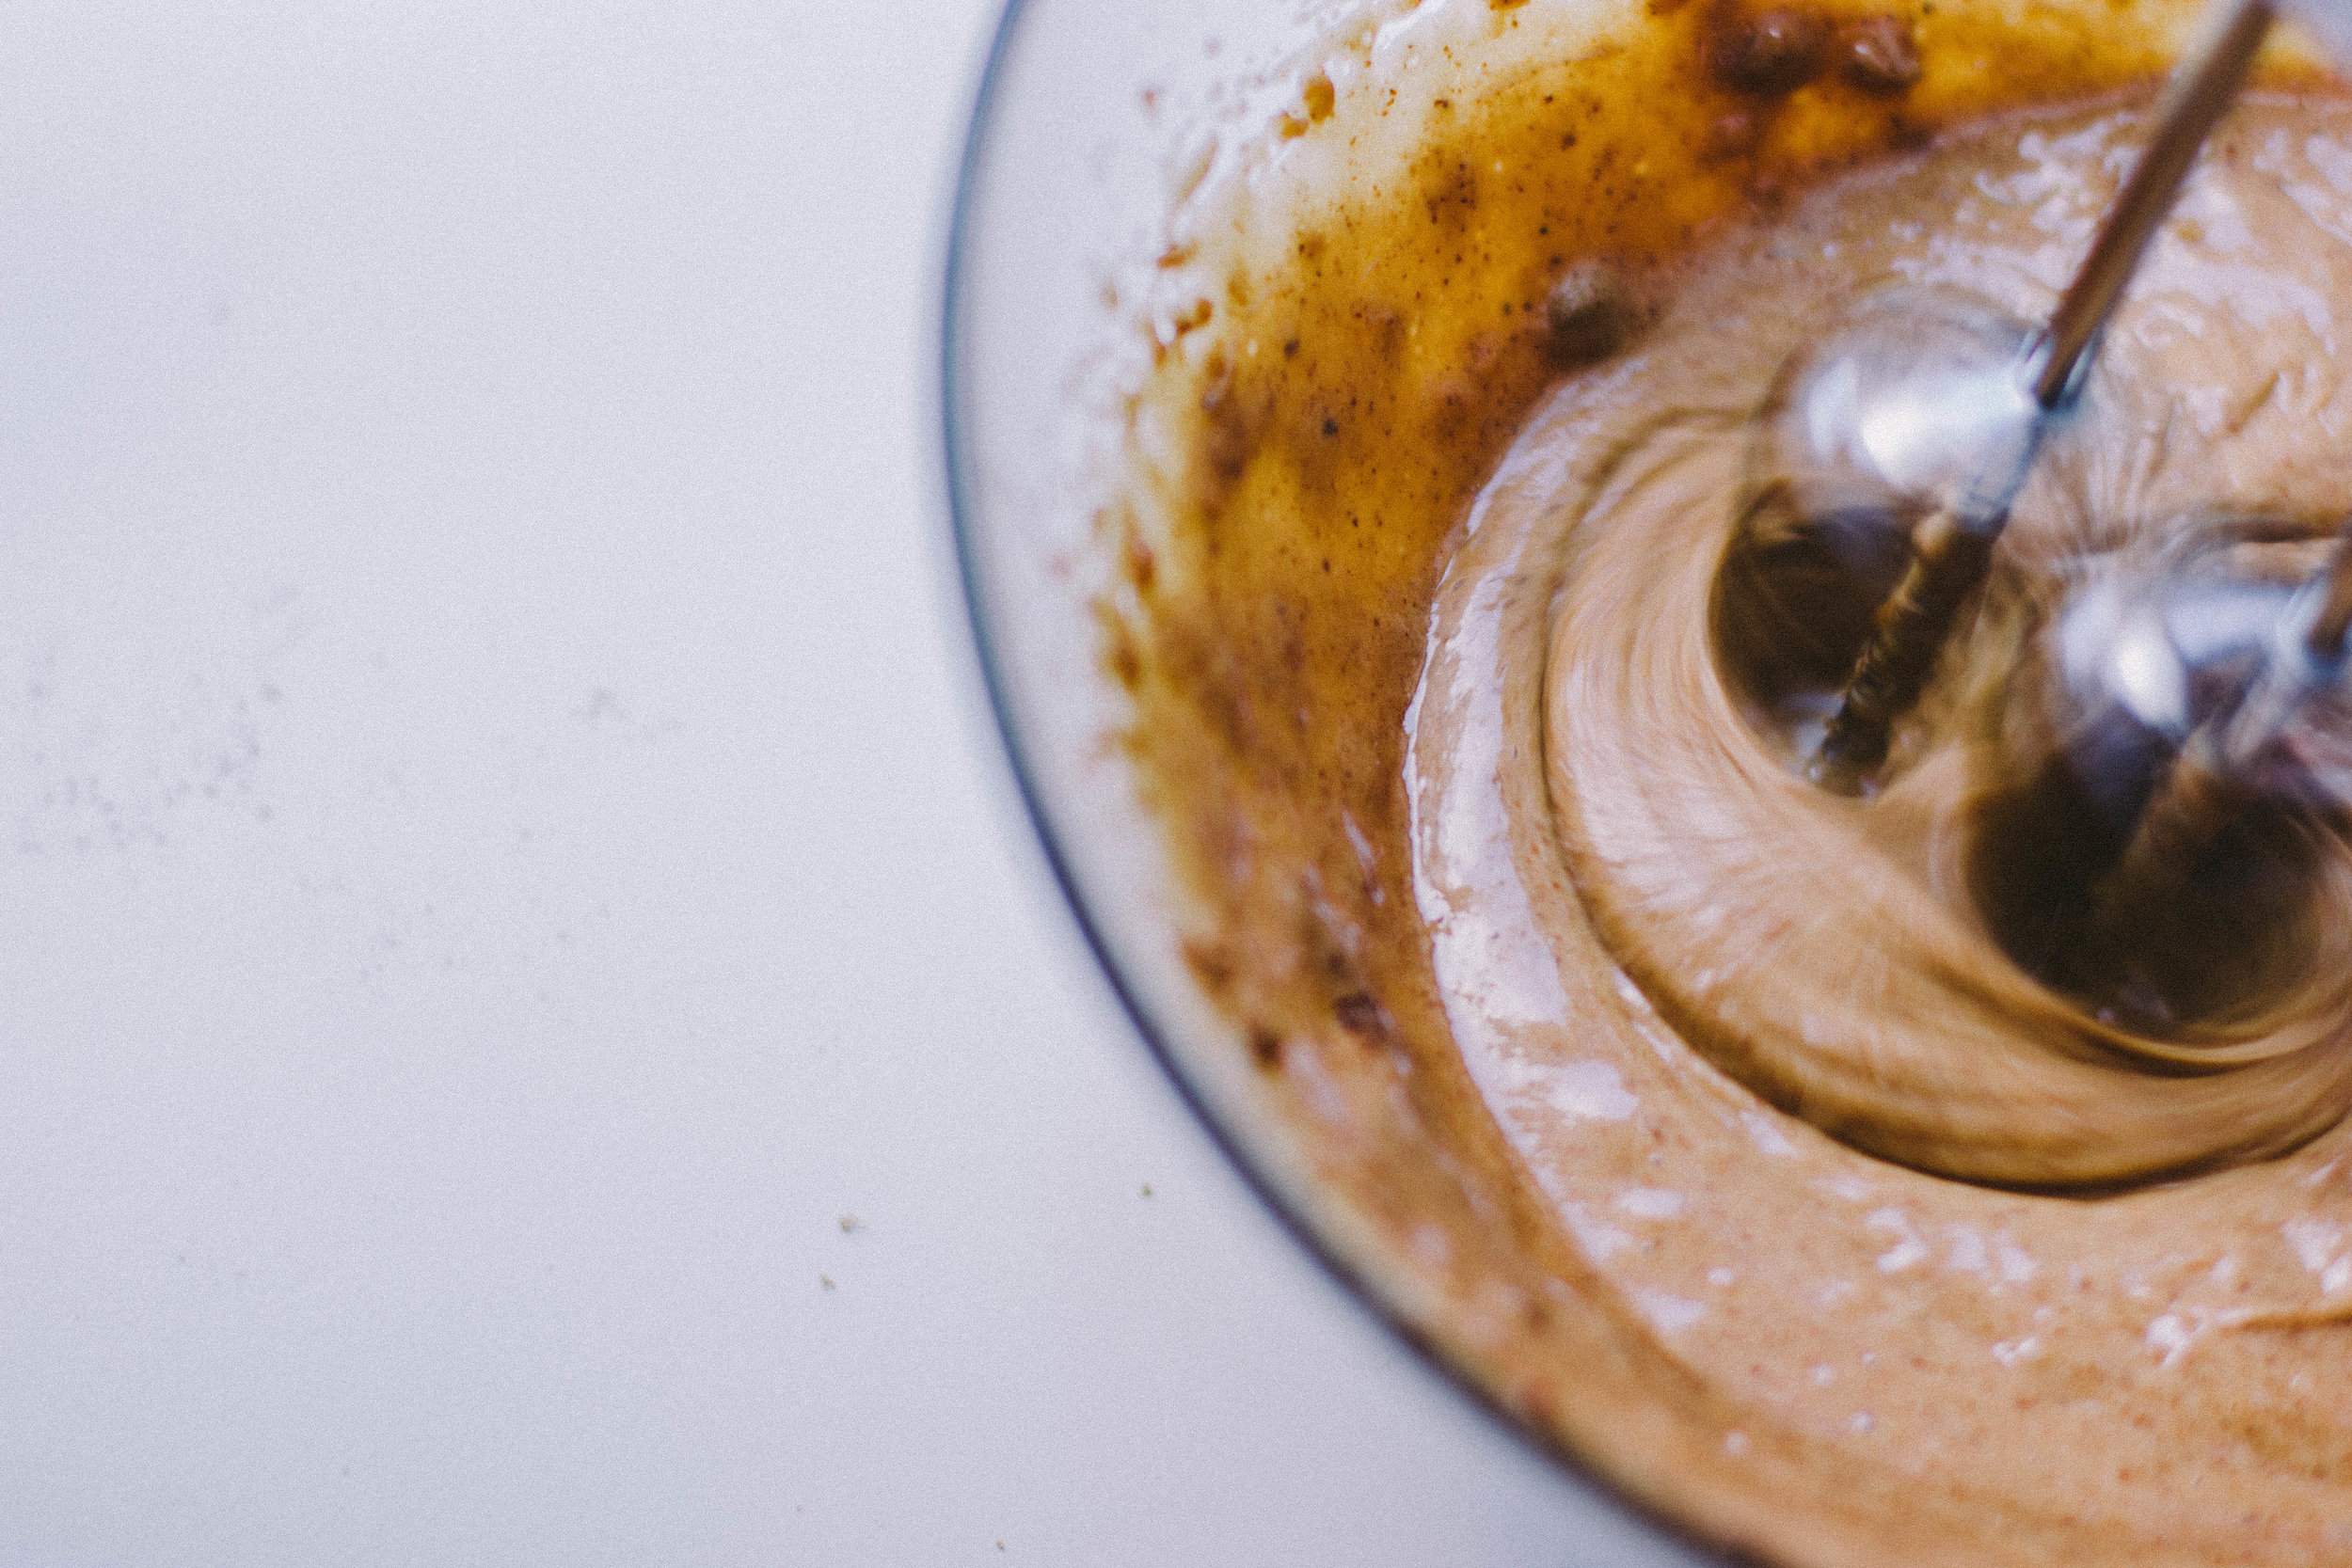
Add the egg yellows to a large bowl/liquid measuring jug with the oil and sugar, beat with a wire whisk till the sugar is moistened. Add the yogurt, vanilla bean seeds and extract (or just extract) and beat again till pale, light and creamy.
Time to whip the egg whites. Make sure they’re not cold (start with room temp. eggs – if they’re kept in the fridge, take them out 1/2 an hour before you start) and with the beater attachment of a stand mixer, or a hand held electric beater, beat the whites till they form firm peaks. The best way to do this is to start with the beater on a low speed, and slowly increase it to high speed. Keep beating till the whites start to hold shape, but you don’t want them to be too stiff or they won’t incorporate. check every now and then on the consistency, especially if this isn’t something you do often. Hold the beaters up horizontally: if the egg white just holds its shape without flopping into a curve and without being all stiff and shiny, that’s correct.
If you overbeat the whites they will go grainy and liquid and aren’t easy to salvage, so err on the side of soft peaks**
Retrieve the sugar-yolk mix and the dry mix. Fold the wet into the dry till just combined and smooth, then very delicately fold in the egg whites so not to deflate them. They should be thoroughly mixed through but not flat – be gentle but assertive, like you’re walking a very nervous gundog. Anyway. Once there are no more white streaks, stop mixing.
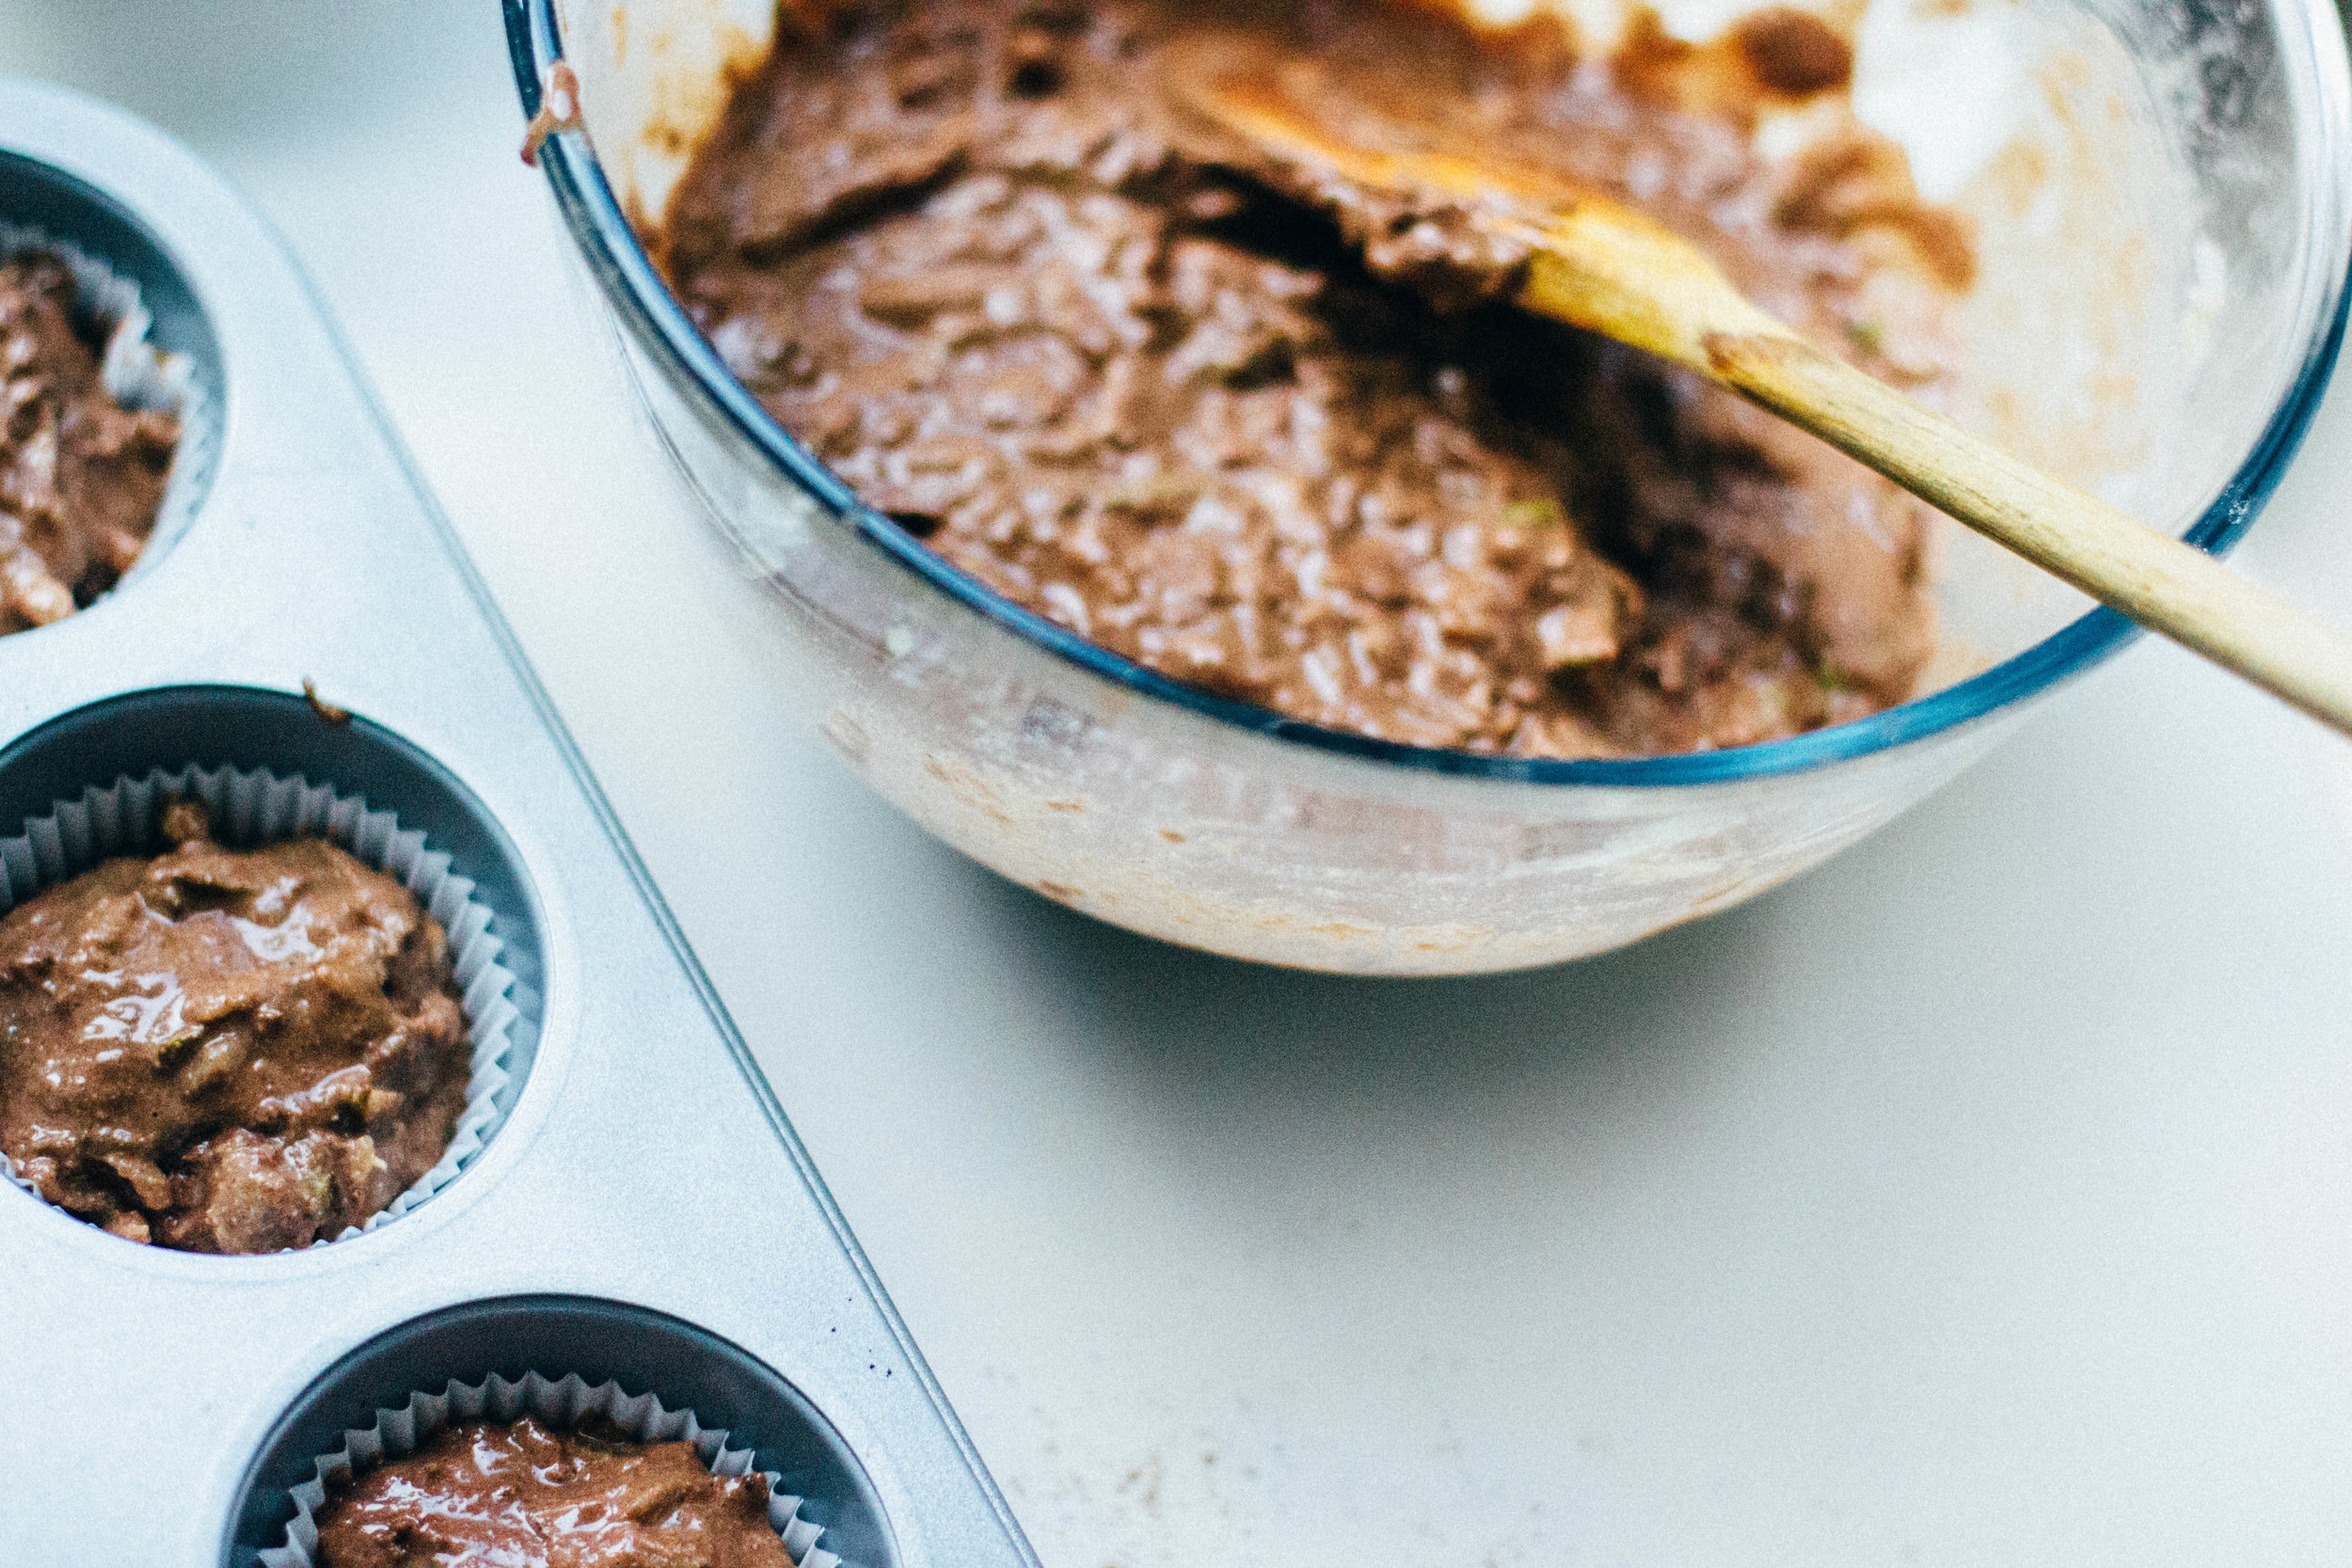
Split the batter evenly between the prepared pans (I would recommend using a scale; weigh your bowl before starting then you can weigh once the batter is ready, weigh one of the cake pans) and smooth it gently – the batter is not very thin. Drop the pan gently on the counter a few times to level it out (muffle the sound with a towel if you have x2 nervous gundogs) and so that it’s not too airy.
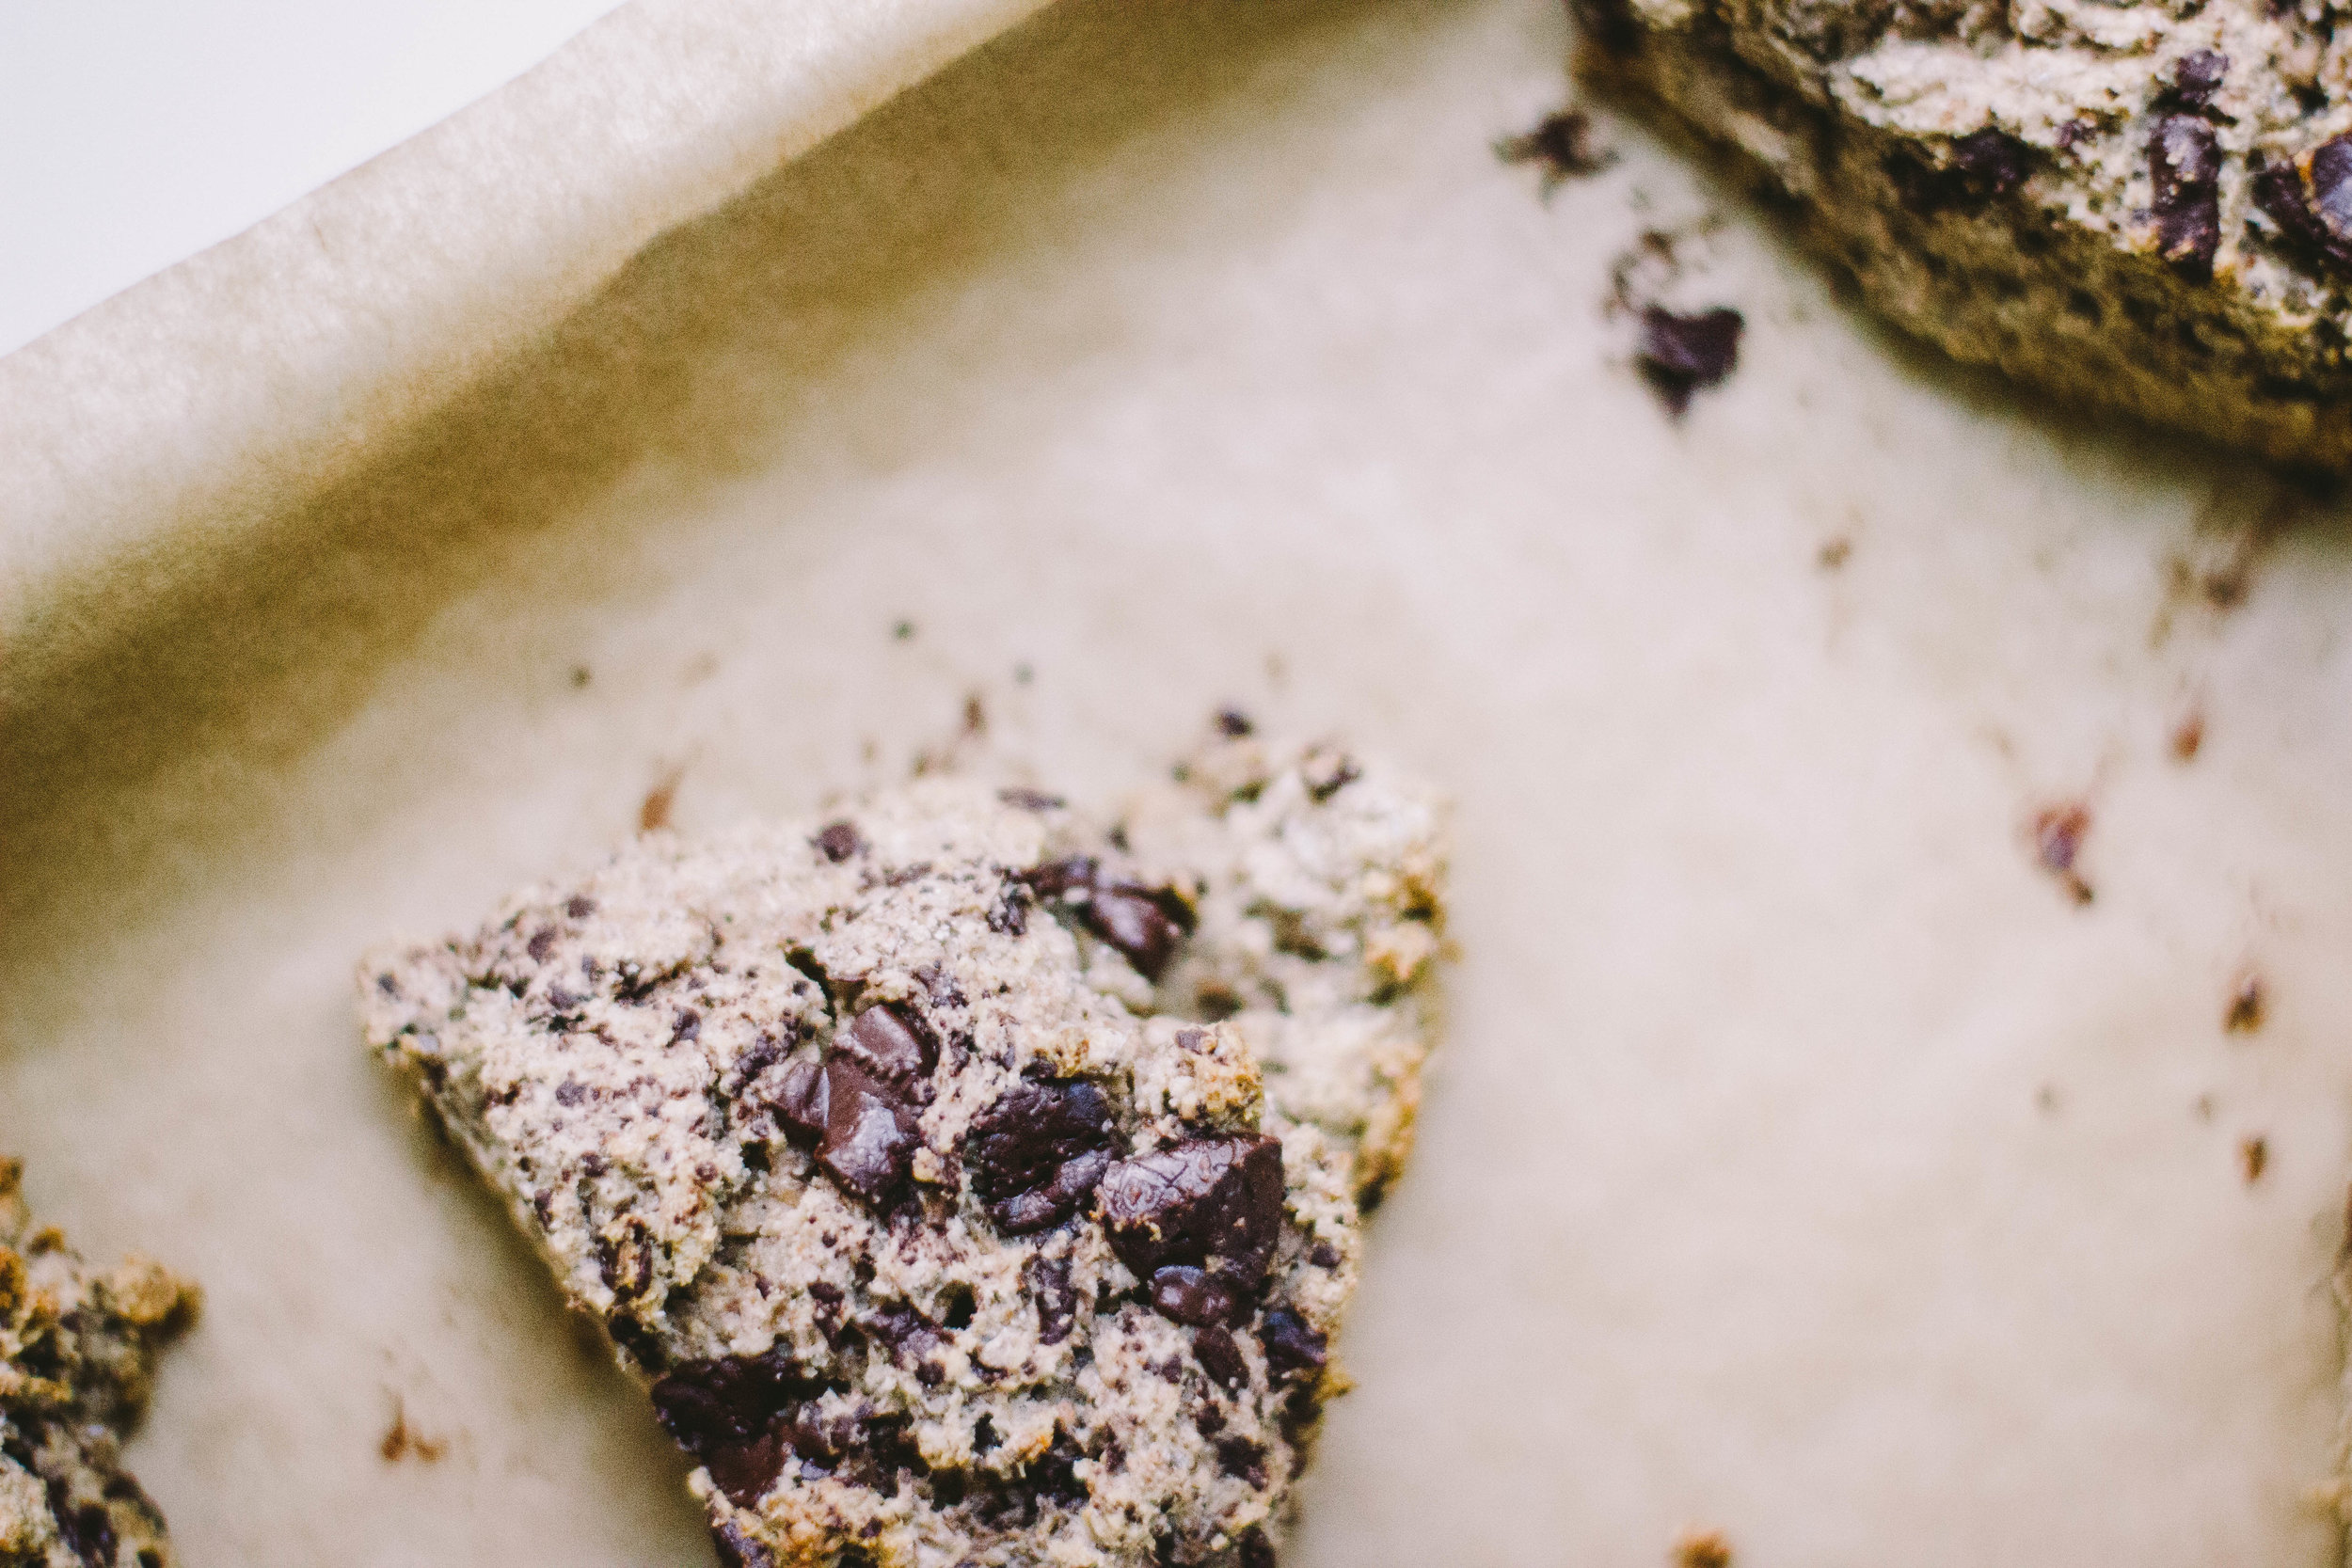
Bake for 25-28 minutes, till golden on top and when a skewer inserted into the center comes out without crumbs. Allow to cool in the pan first, then carefully invert and allow to cool completely on a rack. The cakes are fairly fragile and I broke mine quite badly (can’t tell though can ya) so take it slowly. Wrap with plastic and freeze till you need to assemble.
// for the preserves
This too can be prepped a bit in advance and kept in the fridge, or you can do it while the cake is baking.
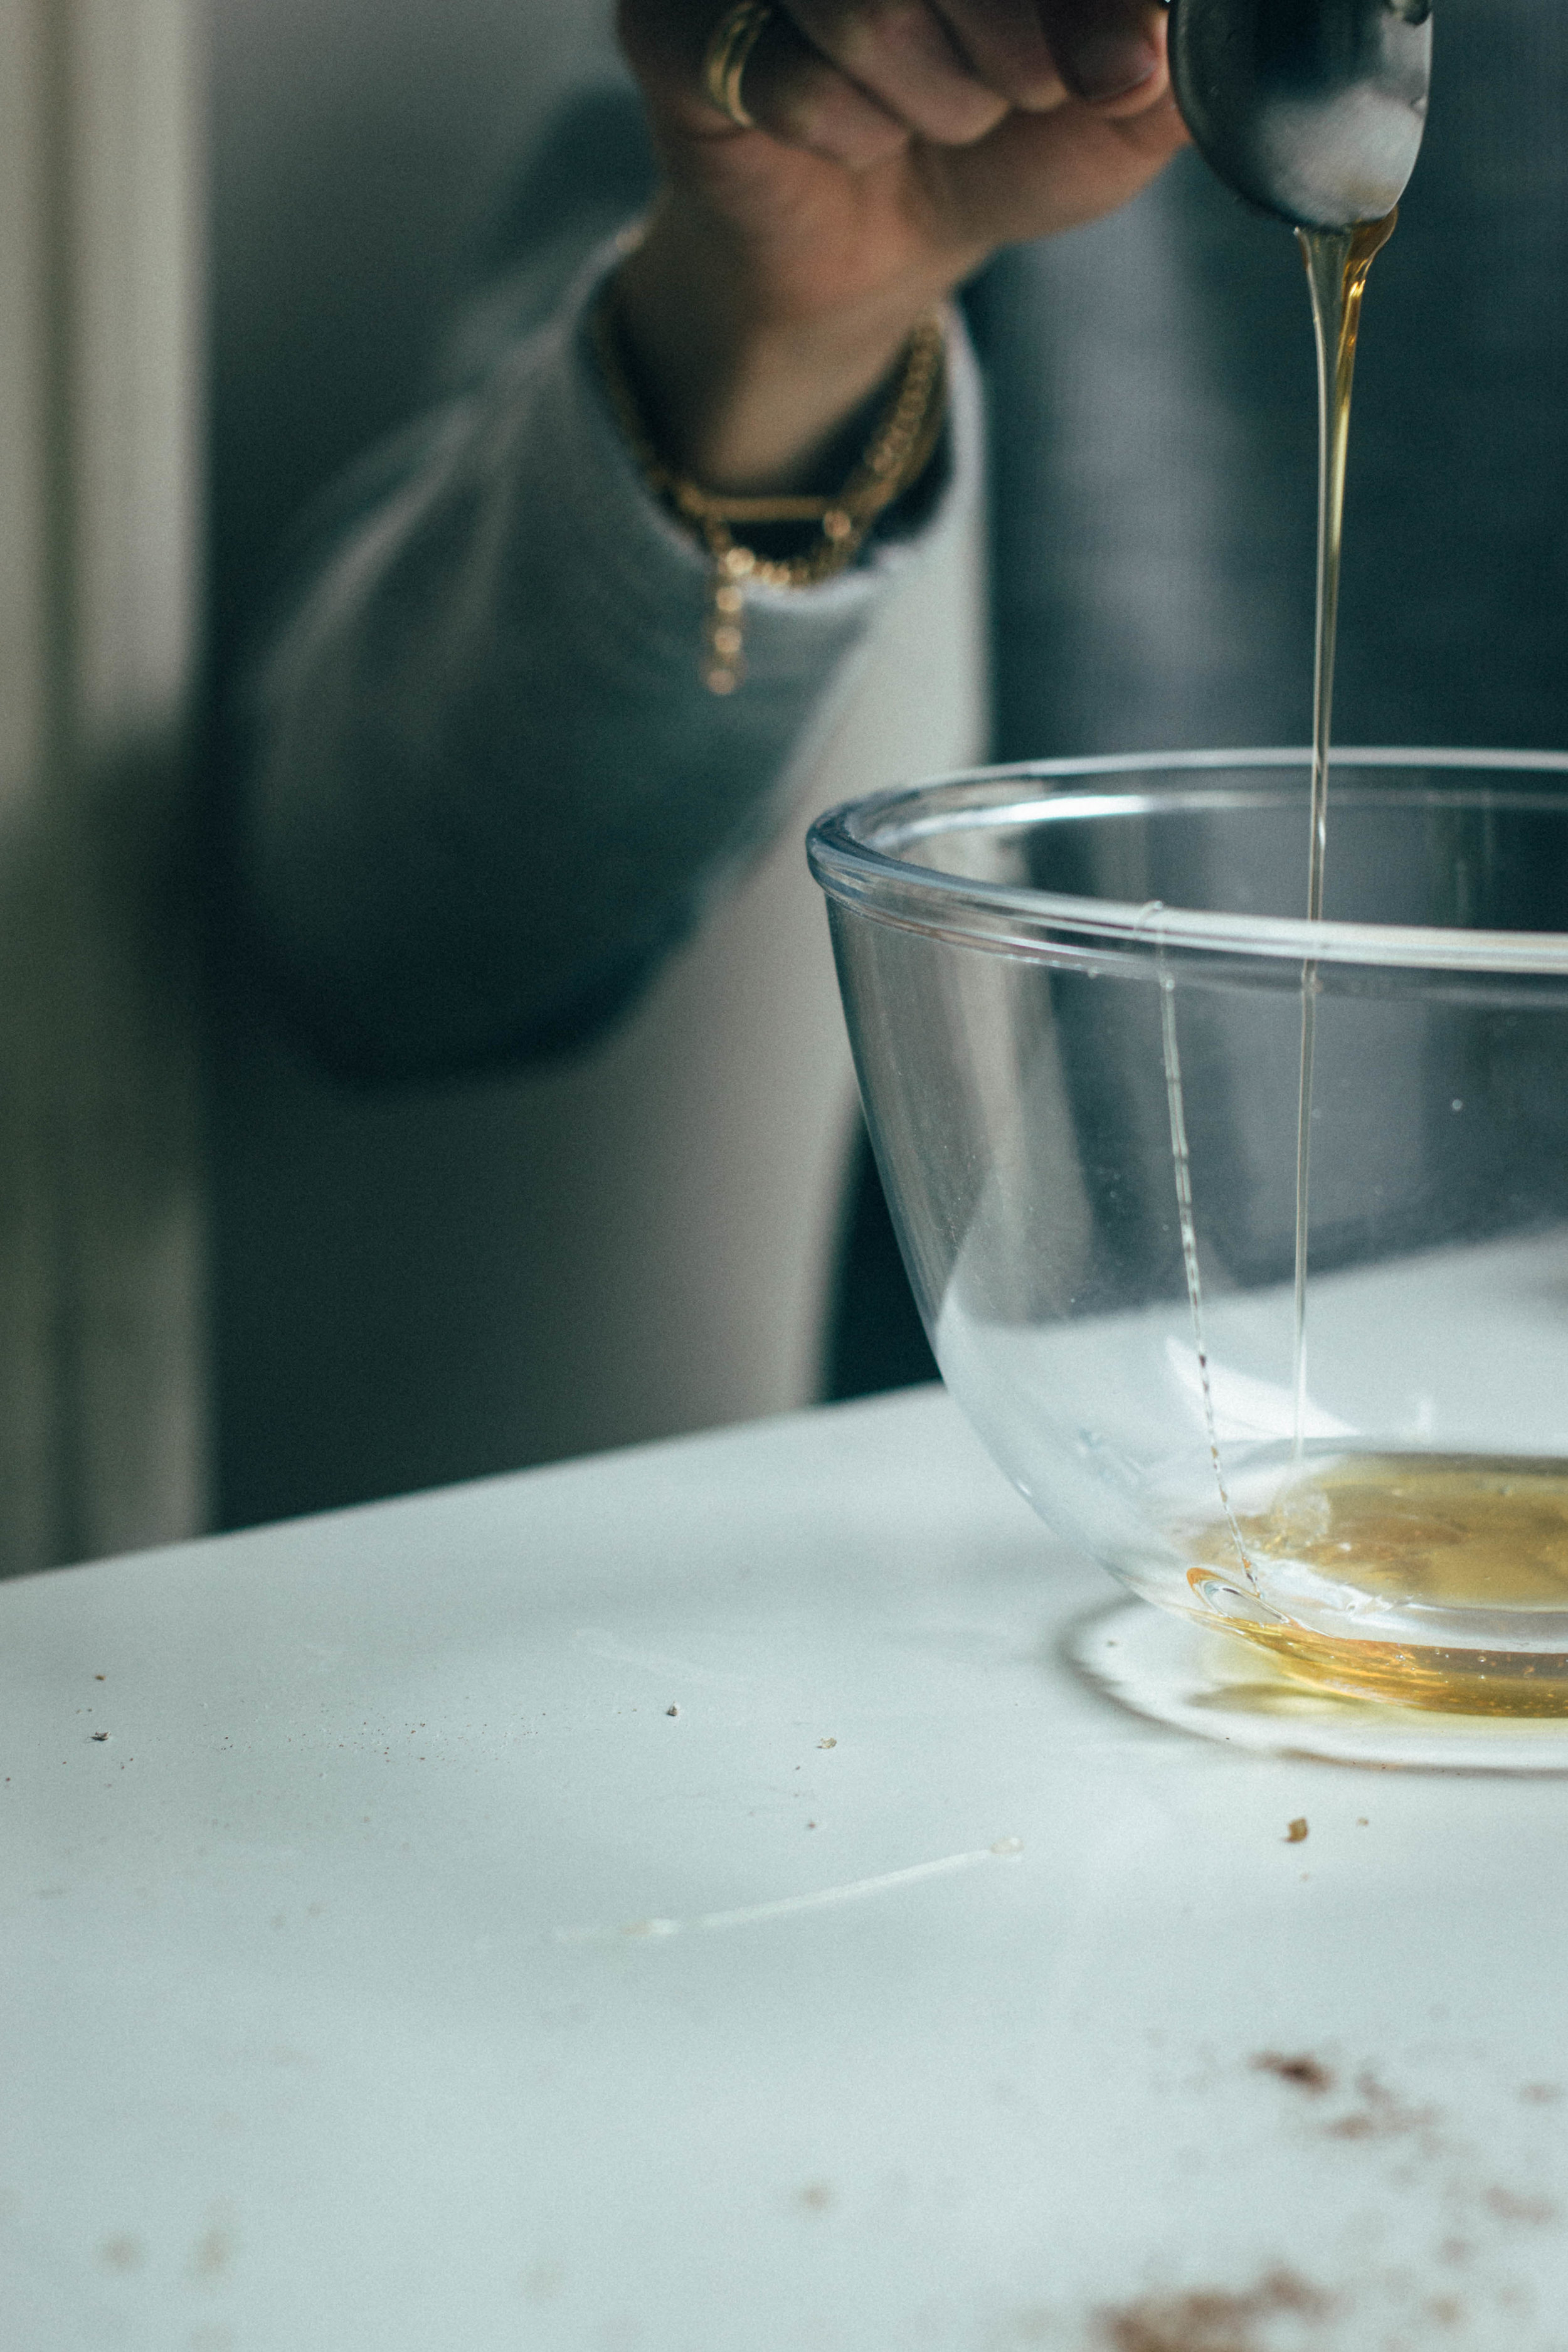
In a small metal pan, add the zest and juice of the 1/2 lemon, the berries, honey and vanilla bean. Add 2-3 tablespoons water so the whole thing is moist then place on a burner on high heat.
Once the liquid starts to bubble enthusiastically turn the heat down to a simmer and smush the berries when you stir, every couple of minutes so the pulp doesn’t stick. Continue cooking for 15 – 20 minutes, till the mixture is thickened and reduced. When it’s done, take off the heat and immediately pour into a small glass jar. Leave to cool without the lid – the preserves will thicken as they cool, so if they’re not very firm, don’t worry. Once cool, fish out the vanilla bean and discard. Keeps in the fridge for about a week.
// The day of assembly
Make the frosting.
Combine the ricotta, vanilla and powdered cane sugar and using an electric beater or stand mixer, beat till light and fluffy. (or use a non-dairy frosting of your choice)
Depending on the texture of your cheese you may need to add a few tablespoons of milk or sugar – we are looking for a consistency of cake batter, no looser. Refrigerate for a few minutes.
Take the frozen wrapped cakes out of the freezer. Cut three rectangles from parchment paper or kitchen towel.
Put a small dollop of whipped ricotta onto your cake stand or serving plate, then place one cake layer, flat side down (this is to stop it sliding around).
Place the 3 pieces of parchment under the base, to catch crumbs.
Spread about 3 tablespoons of the ricotta onto the top of the first cake layer.
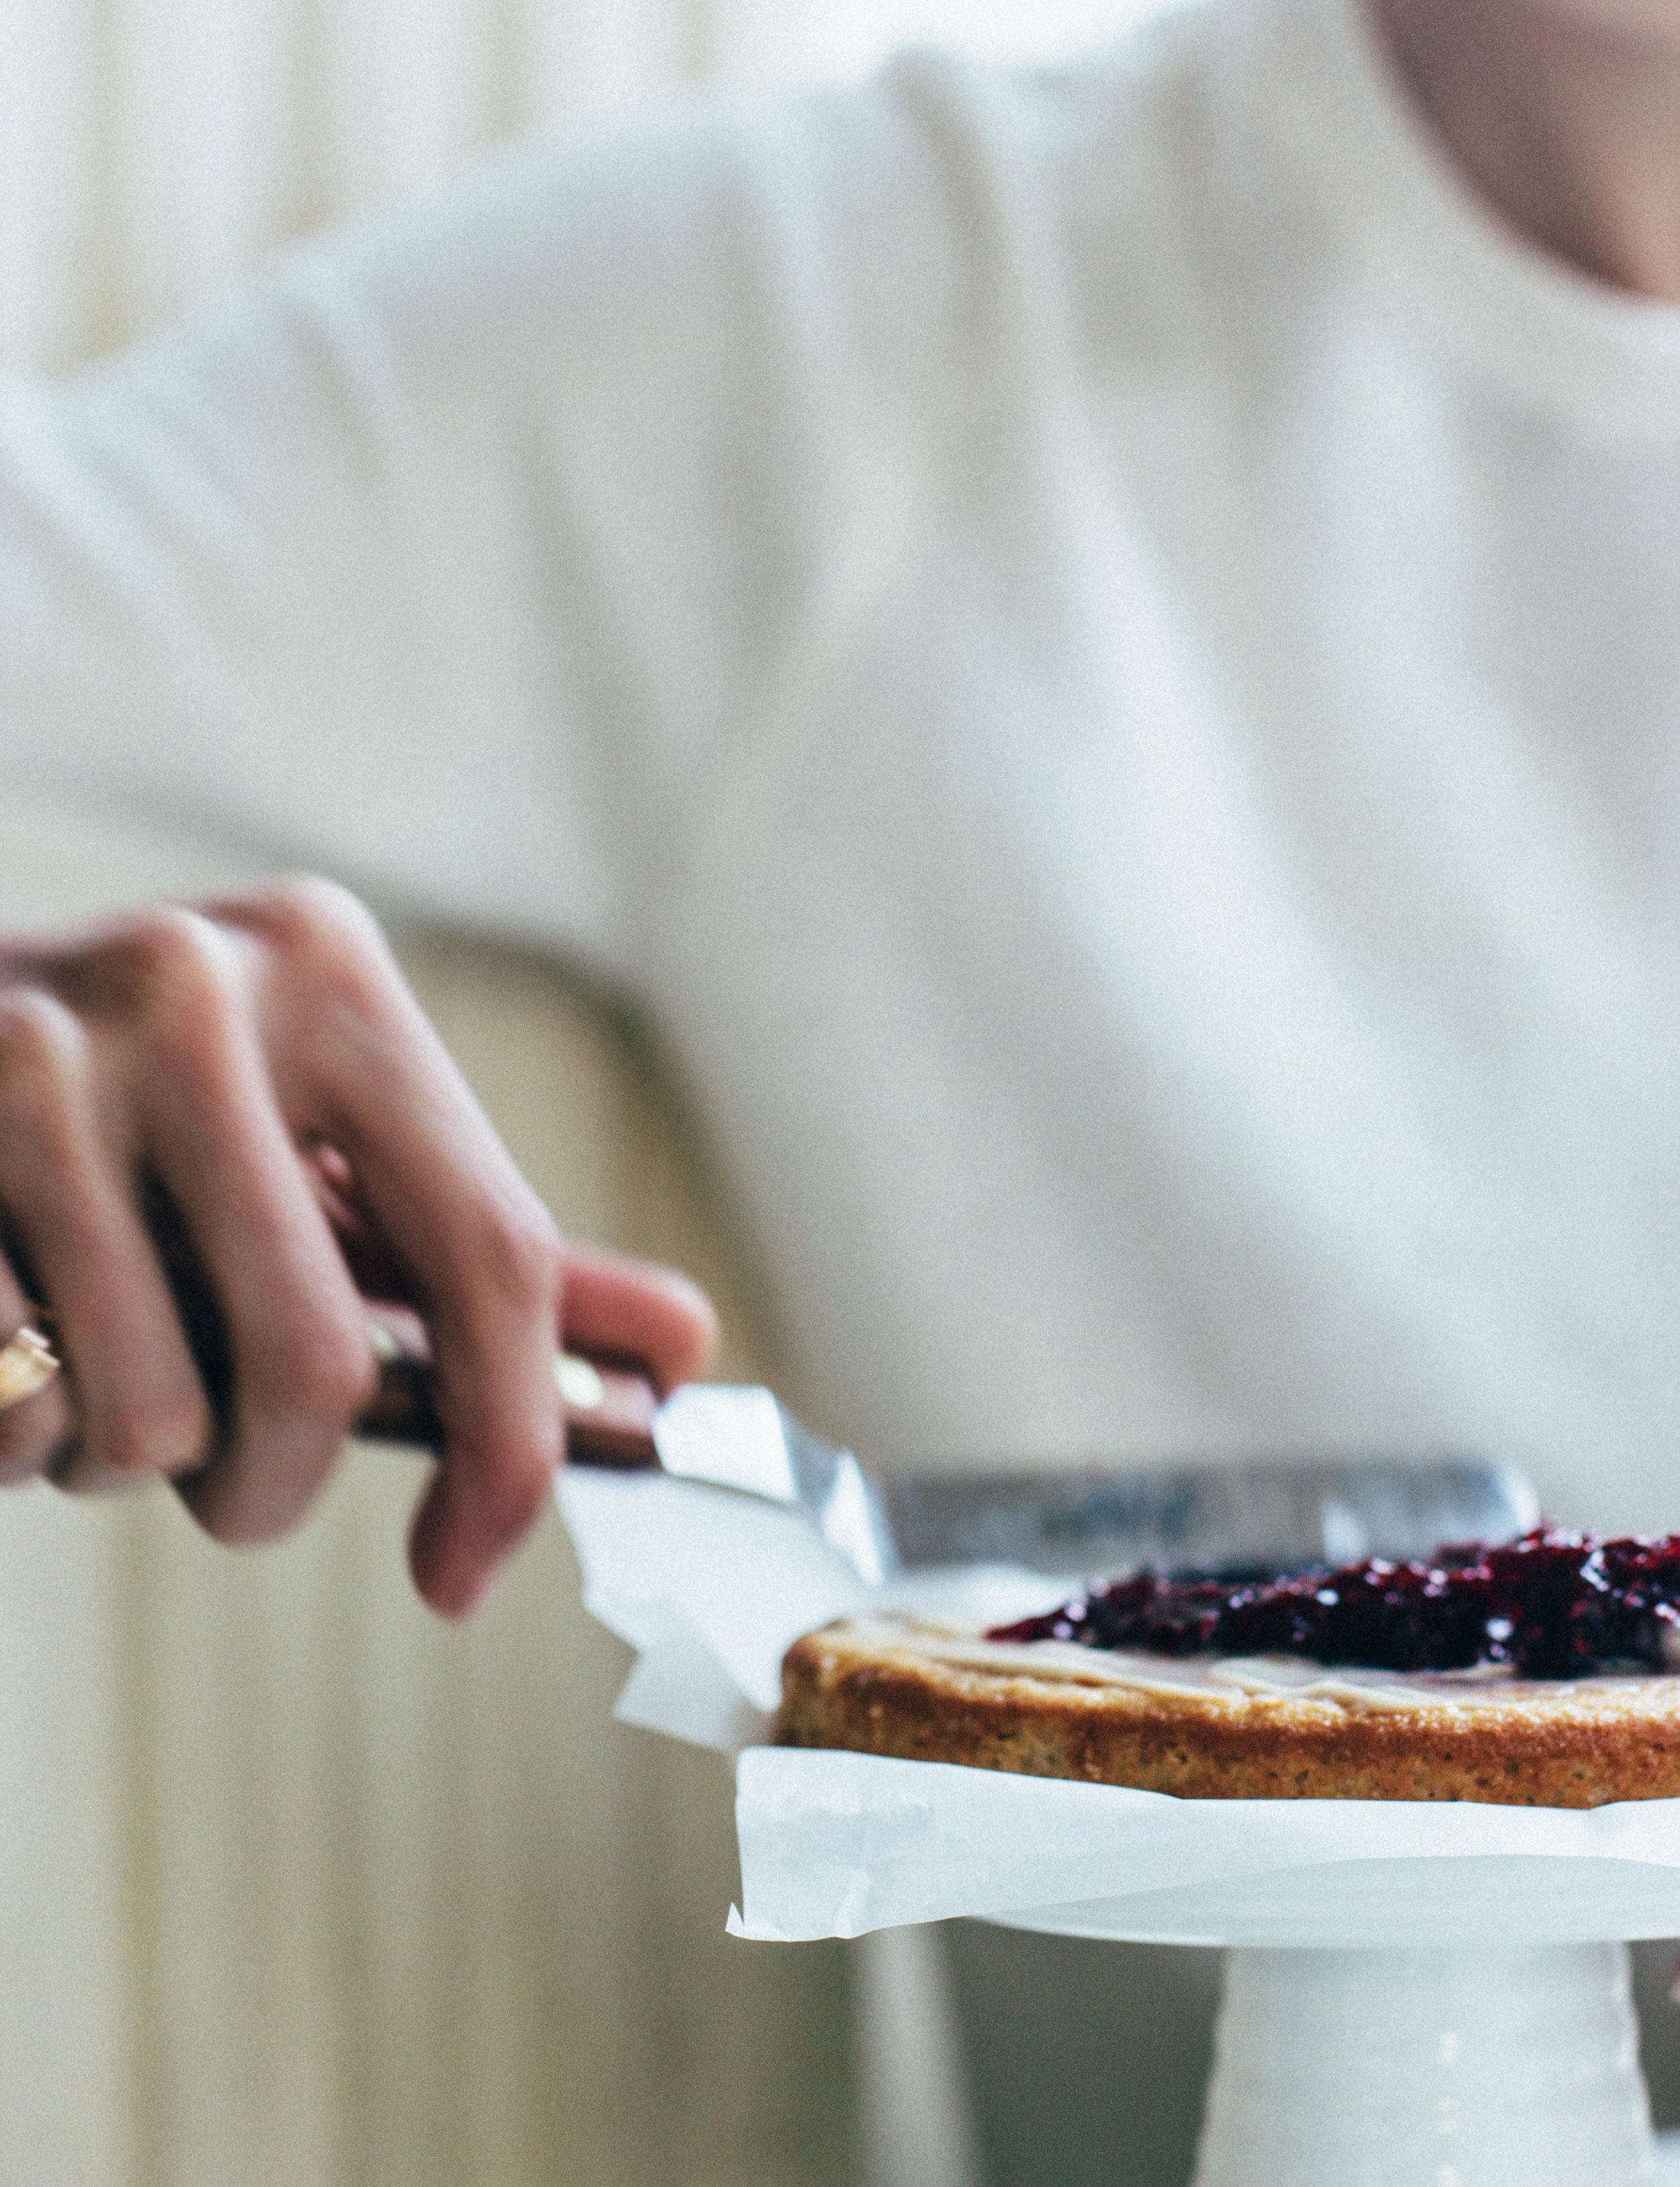
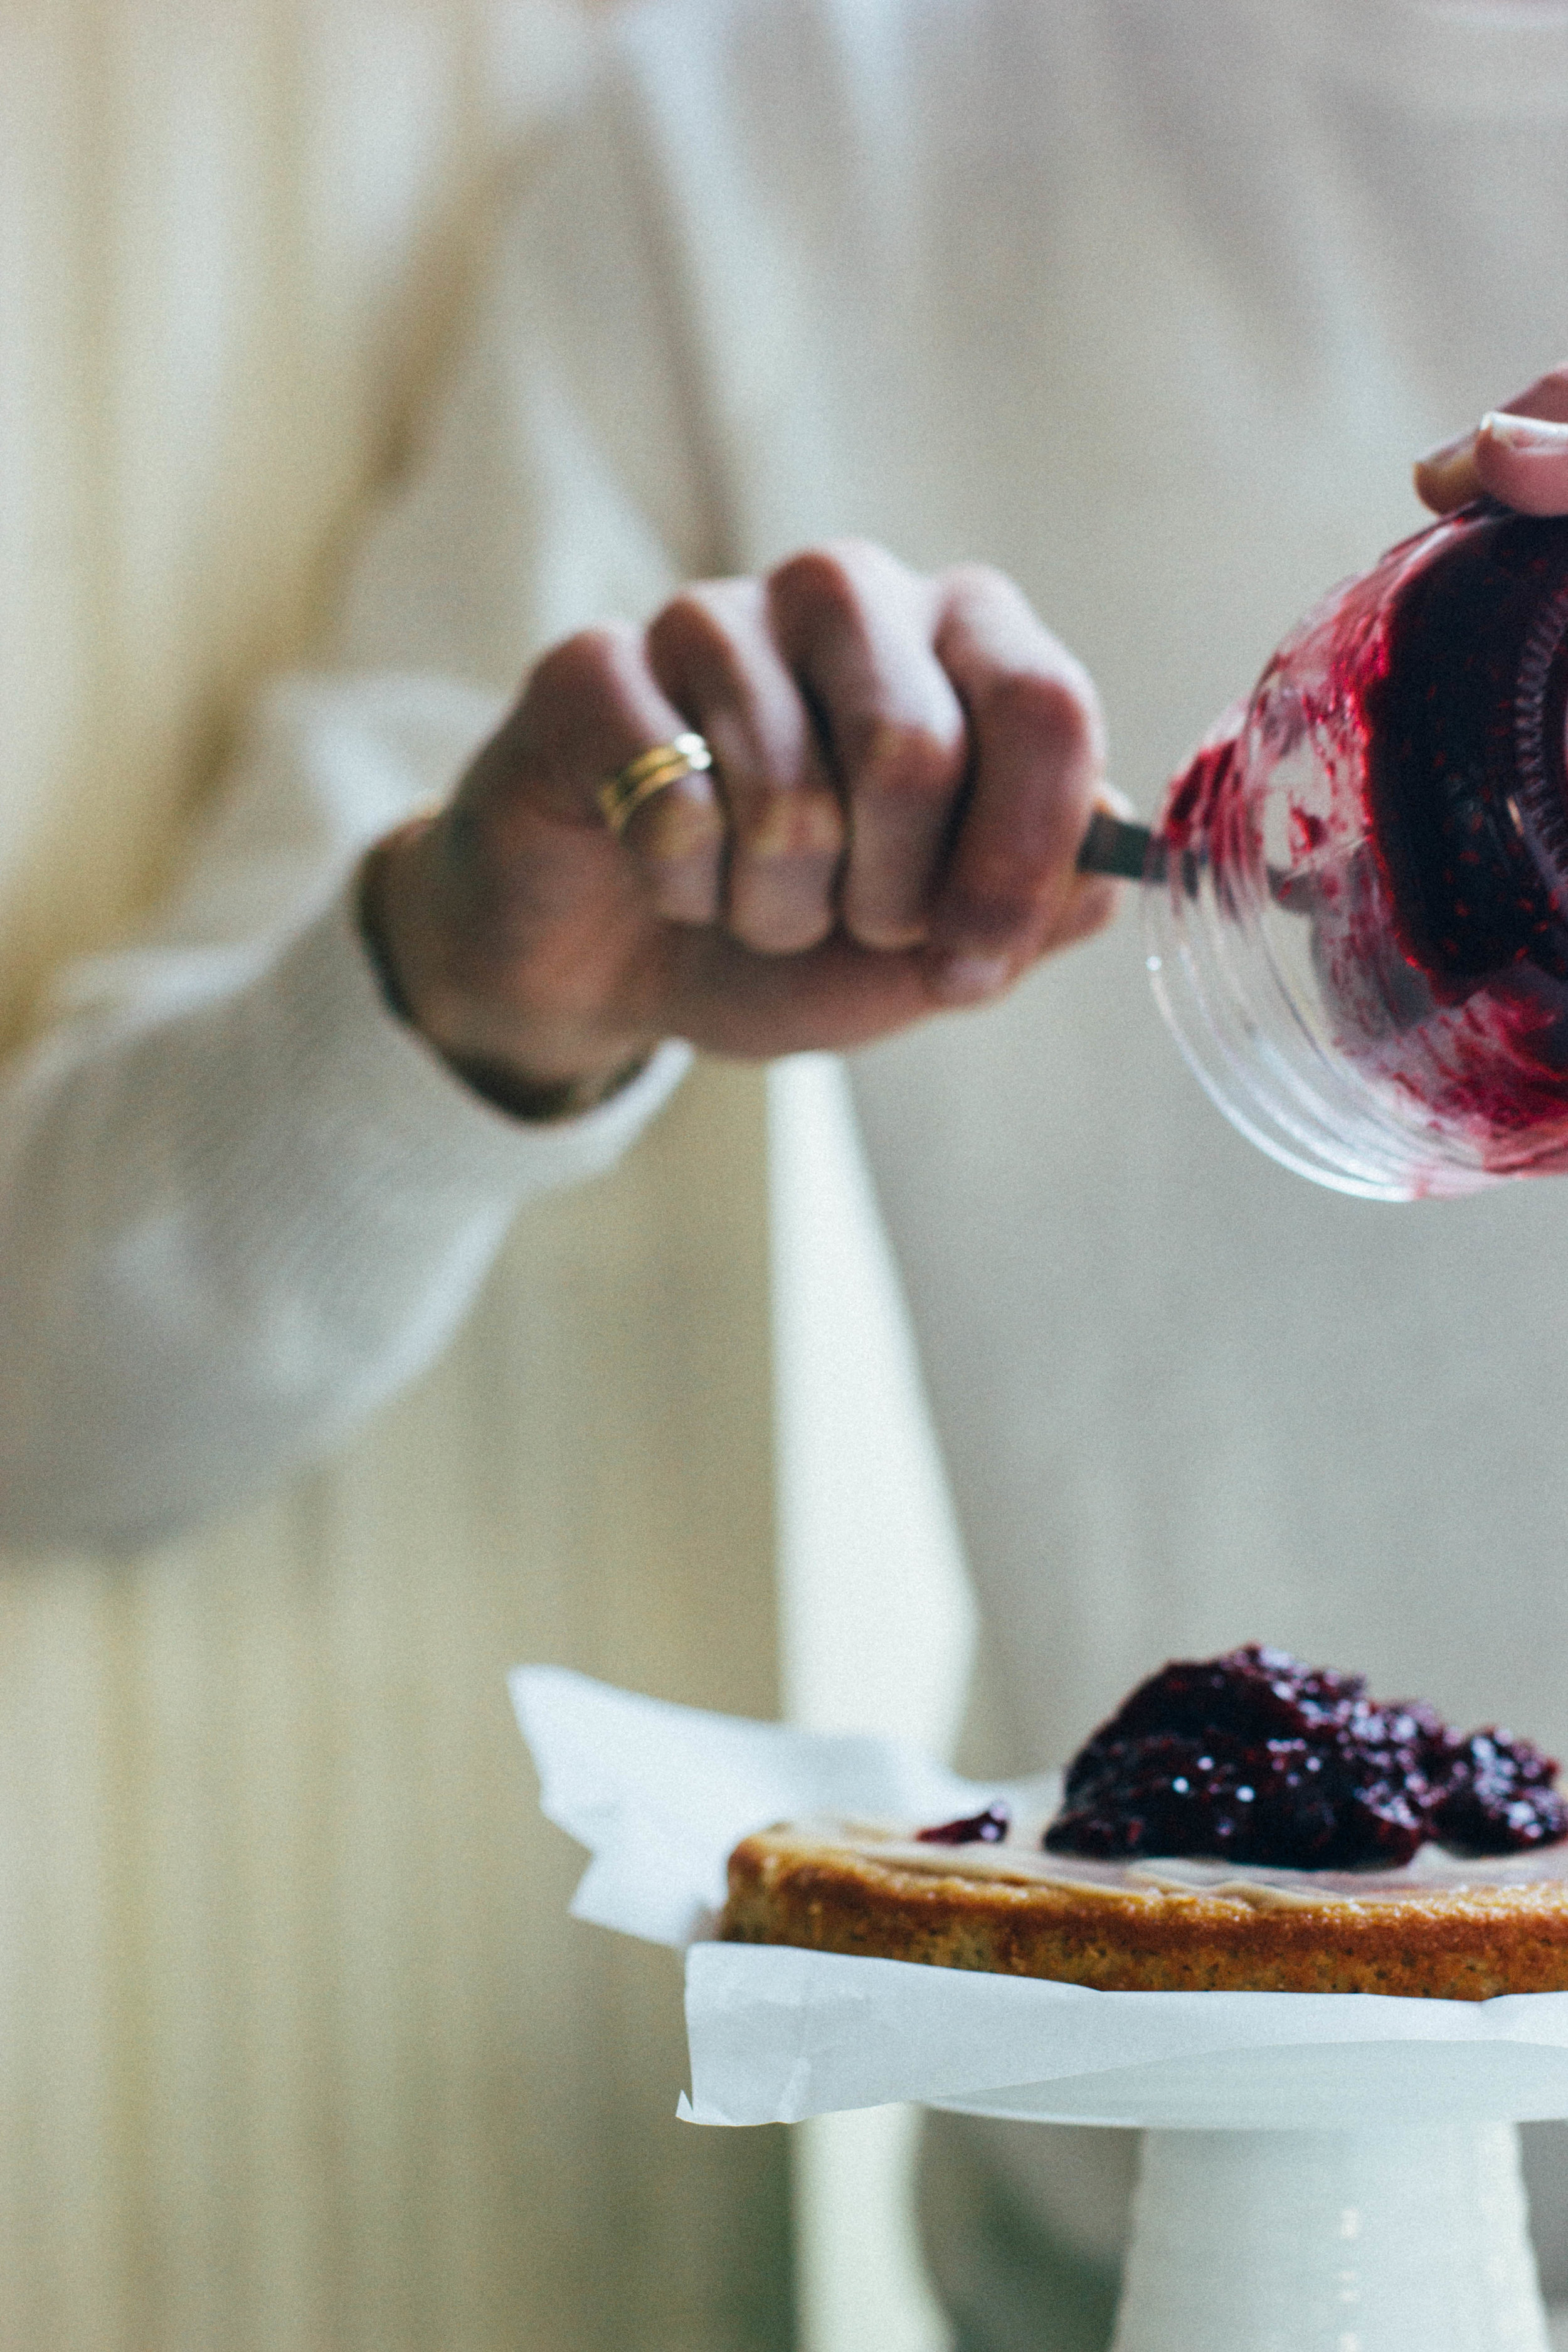
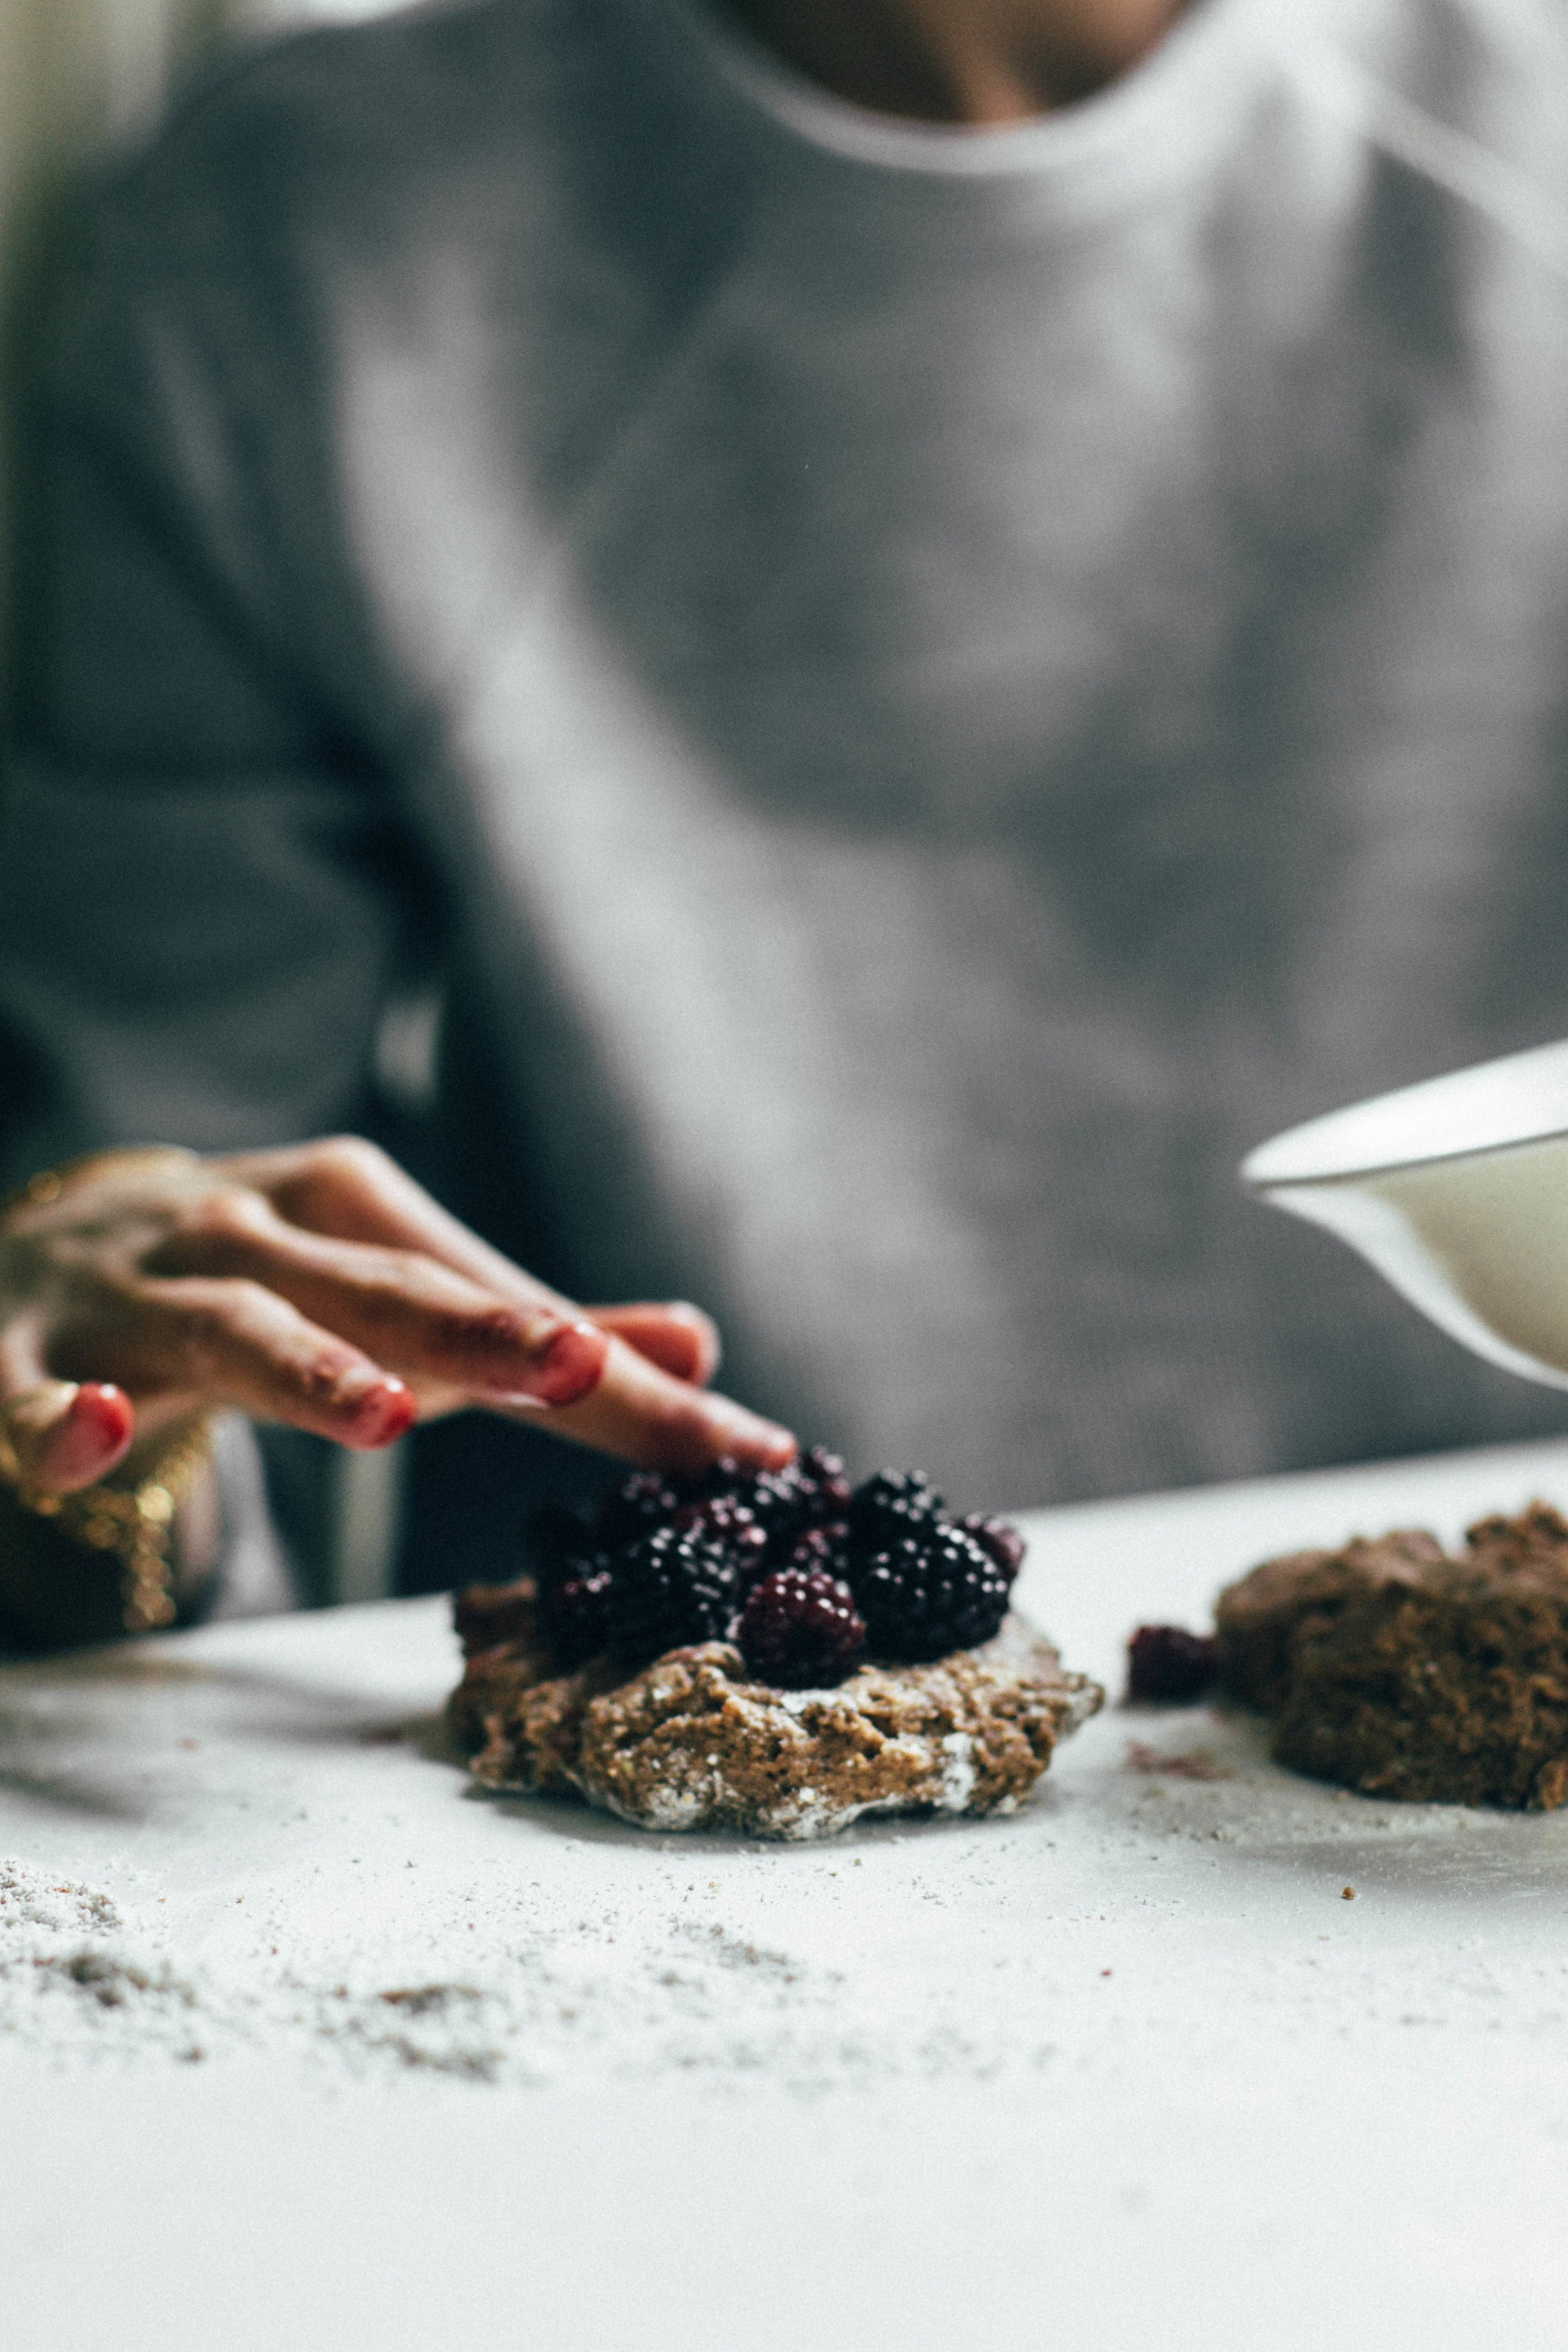
Retrieve your preserves. Dollop about 1/4 cup or 4 tablespoons (this is pretty much all the jam, if you made it yourself) into the middle of the riccotta layer and spread the preserves, leaving a gap before the edges so it doesn’t smush out. It’s ok if the jam and frosting blend a bit.
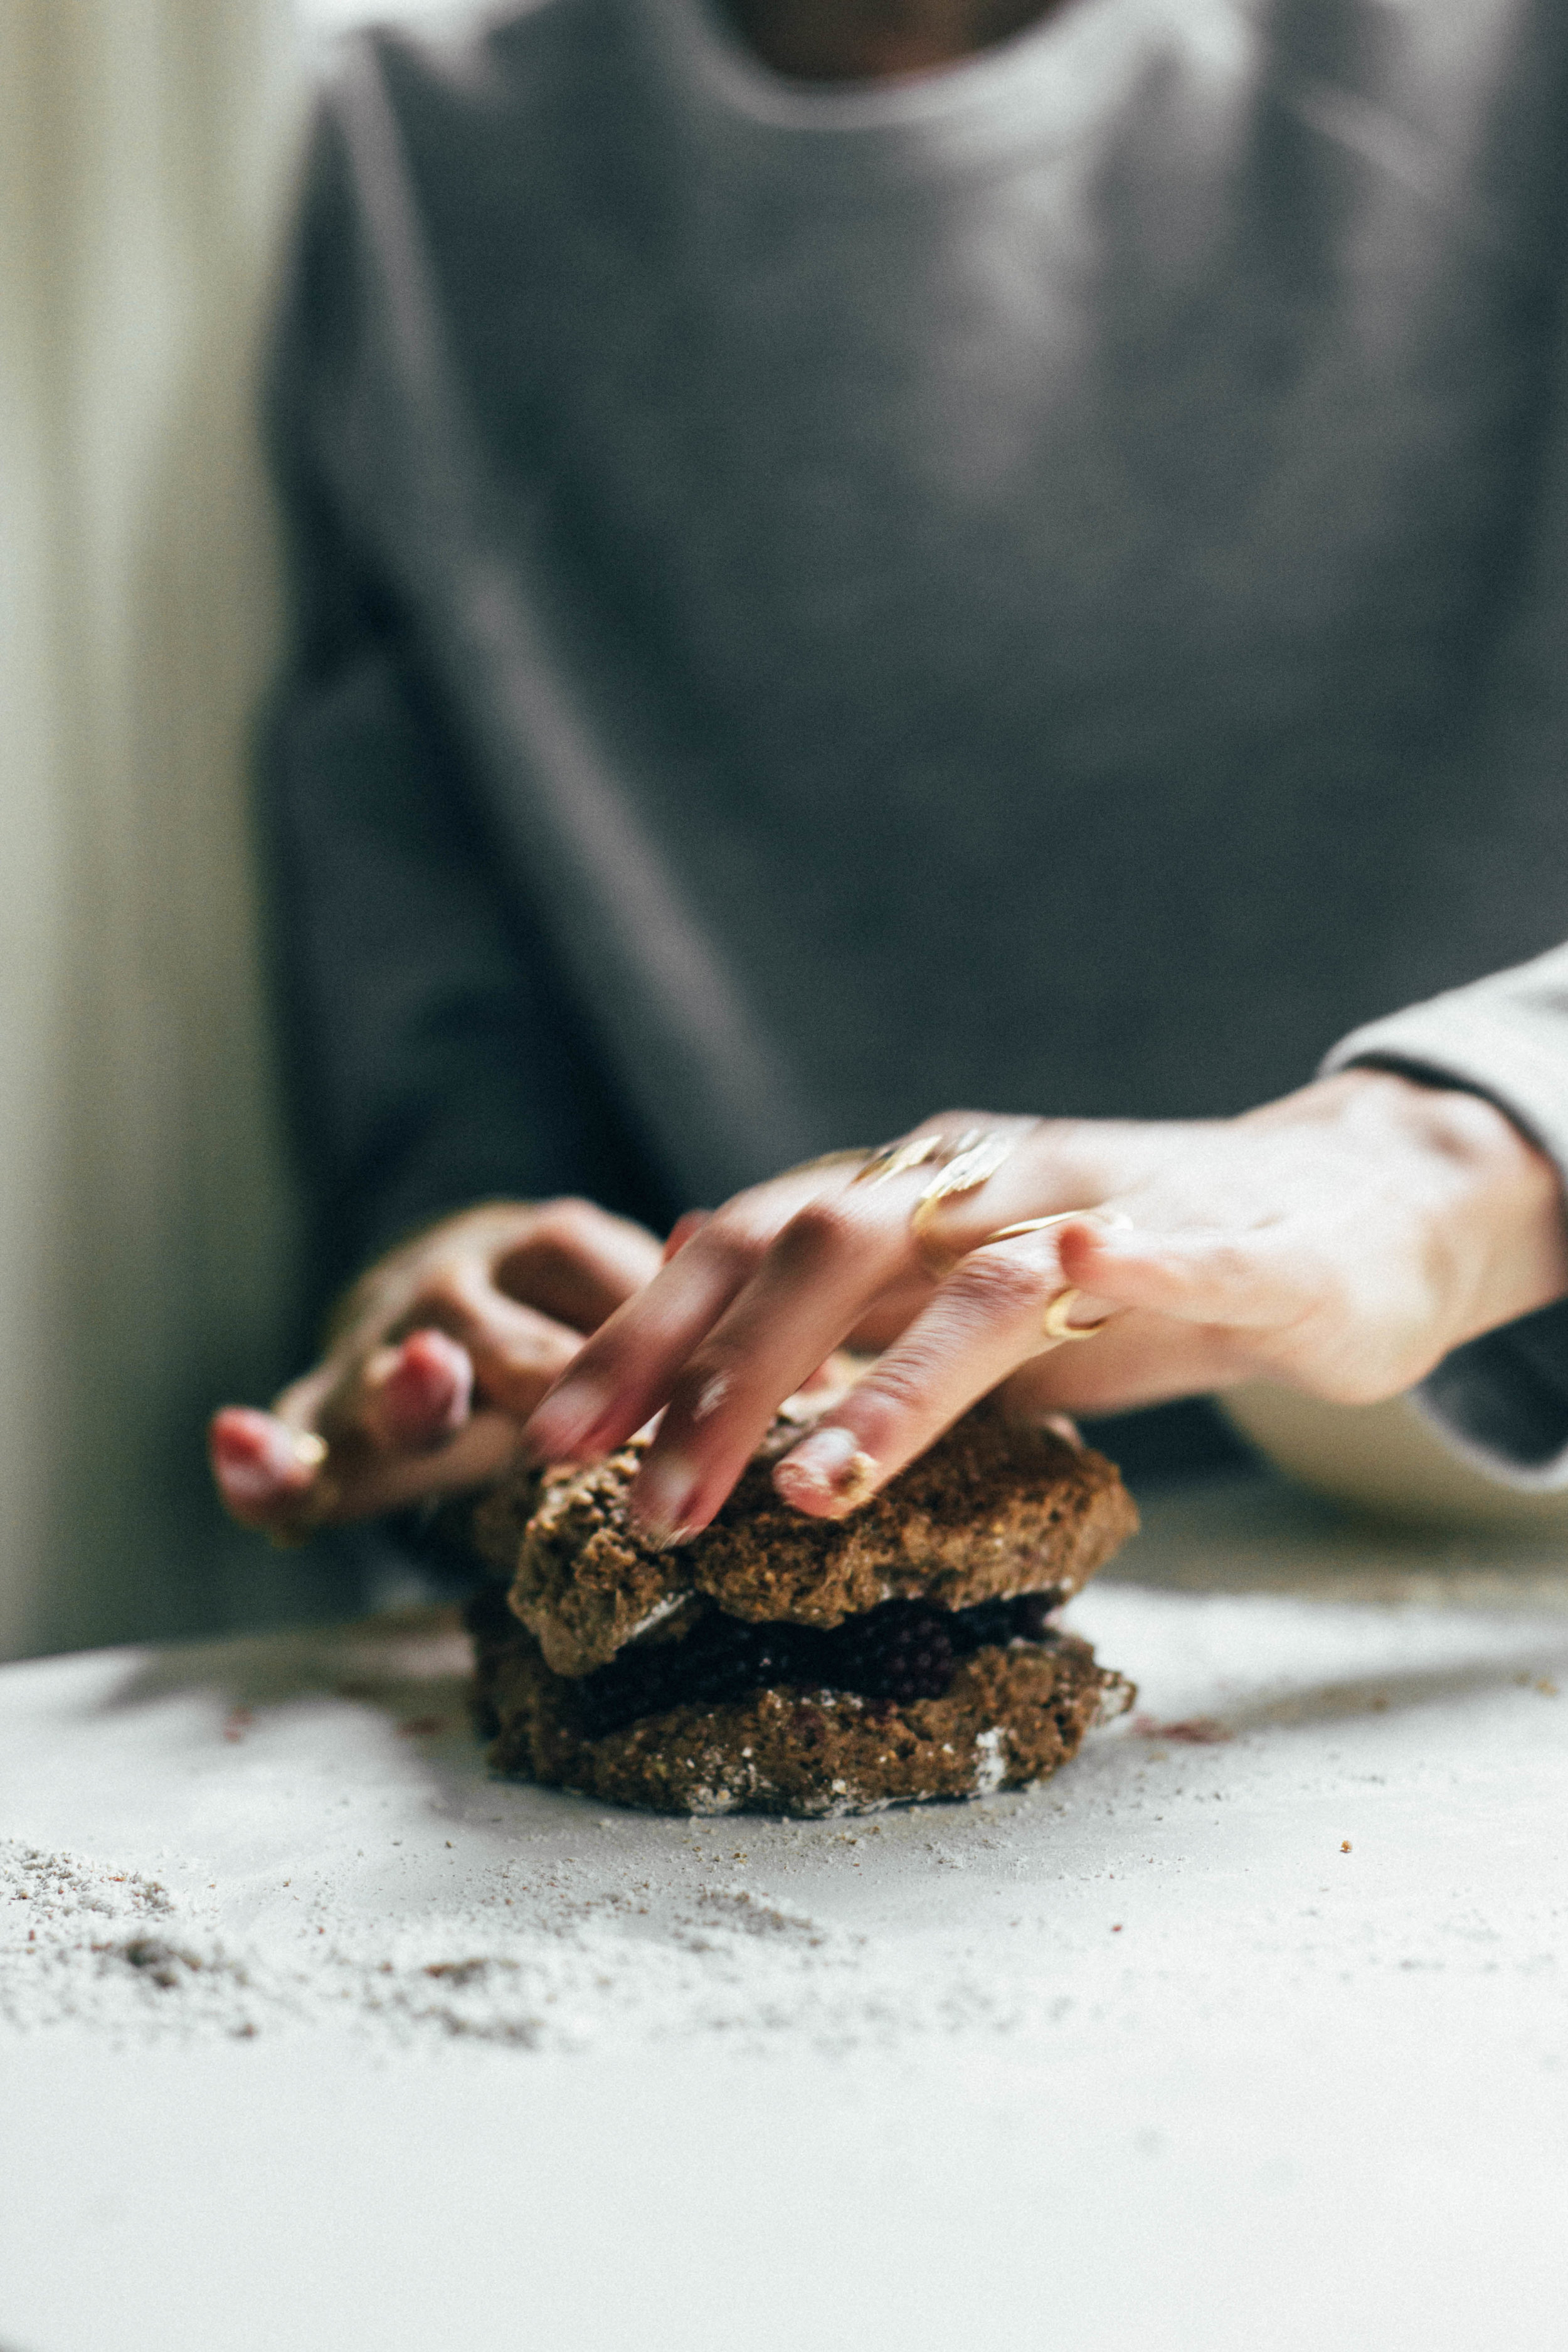
Place the second layer on top, give it a little squeeze so it is secured in place. Now for a crumb coat (so crumbs don’t color the final coat).
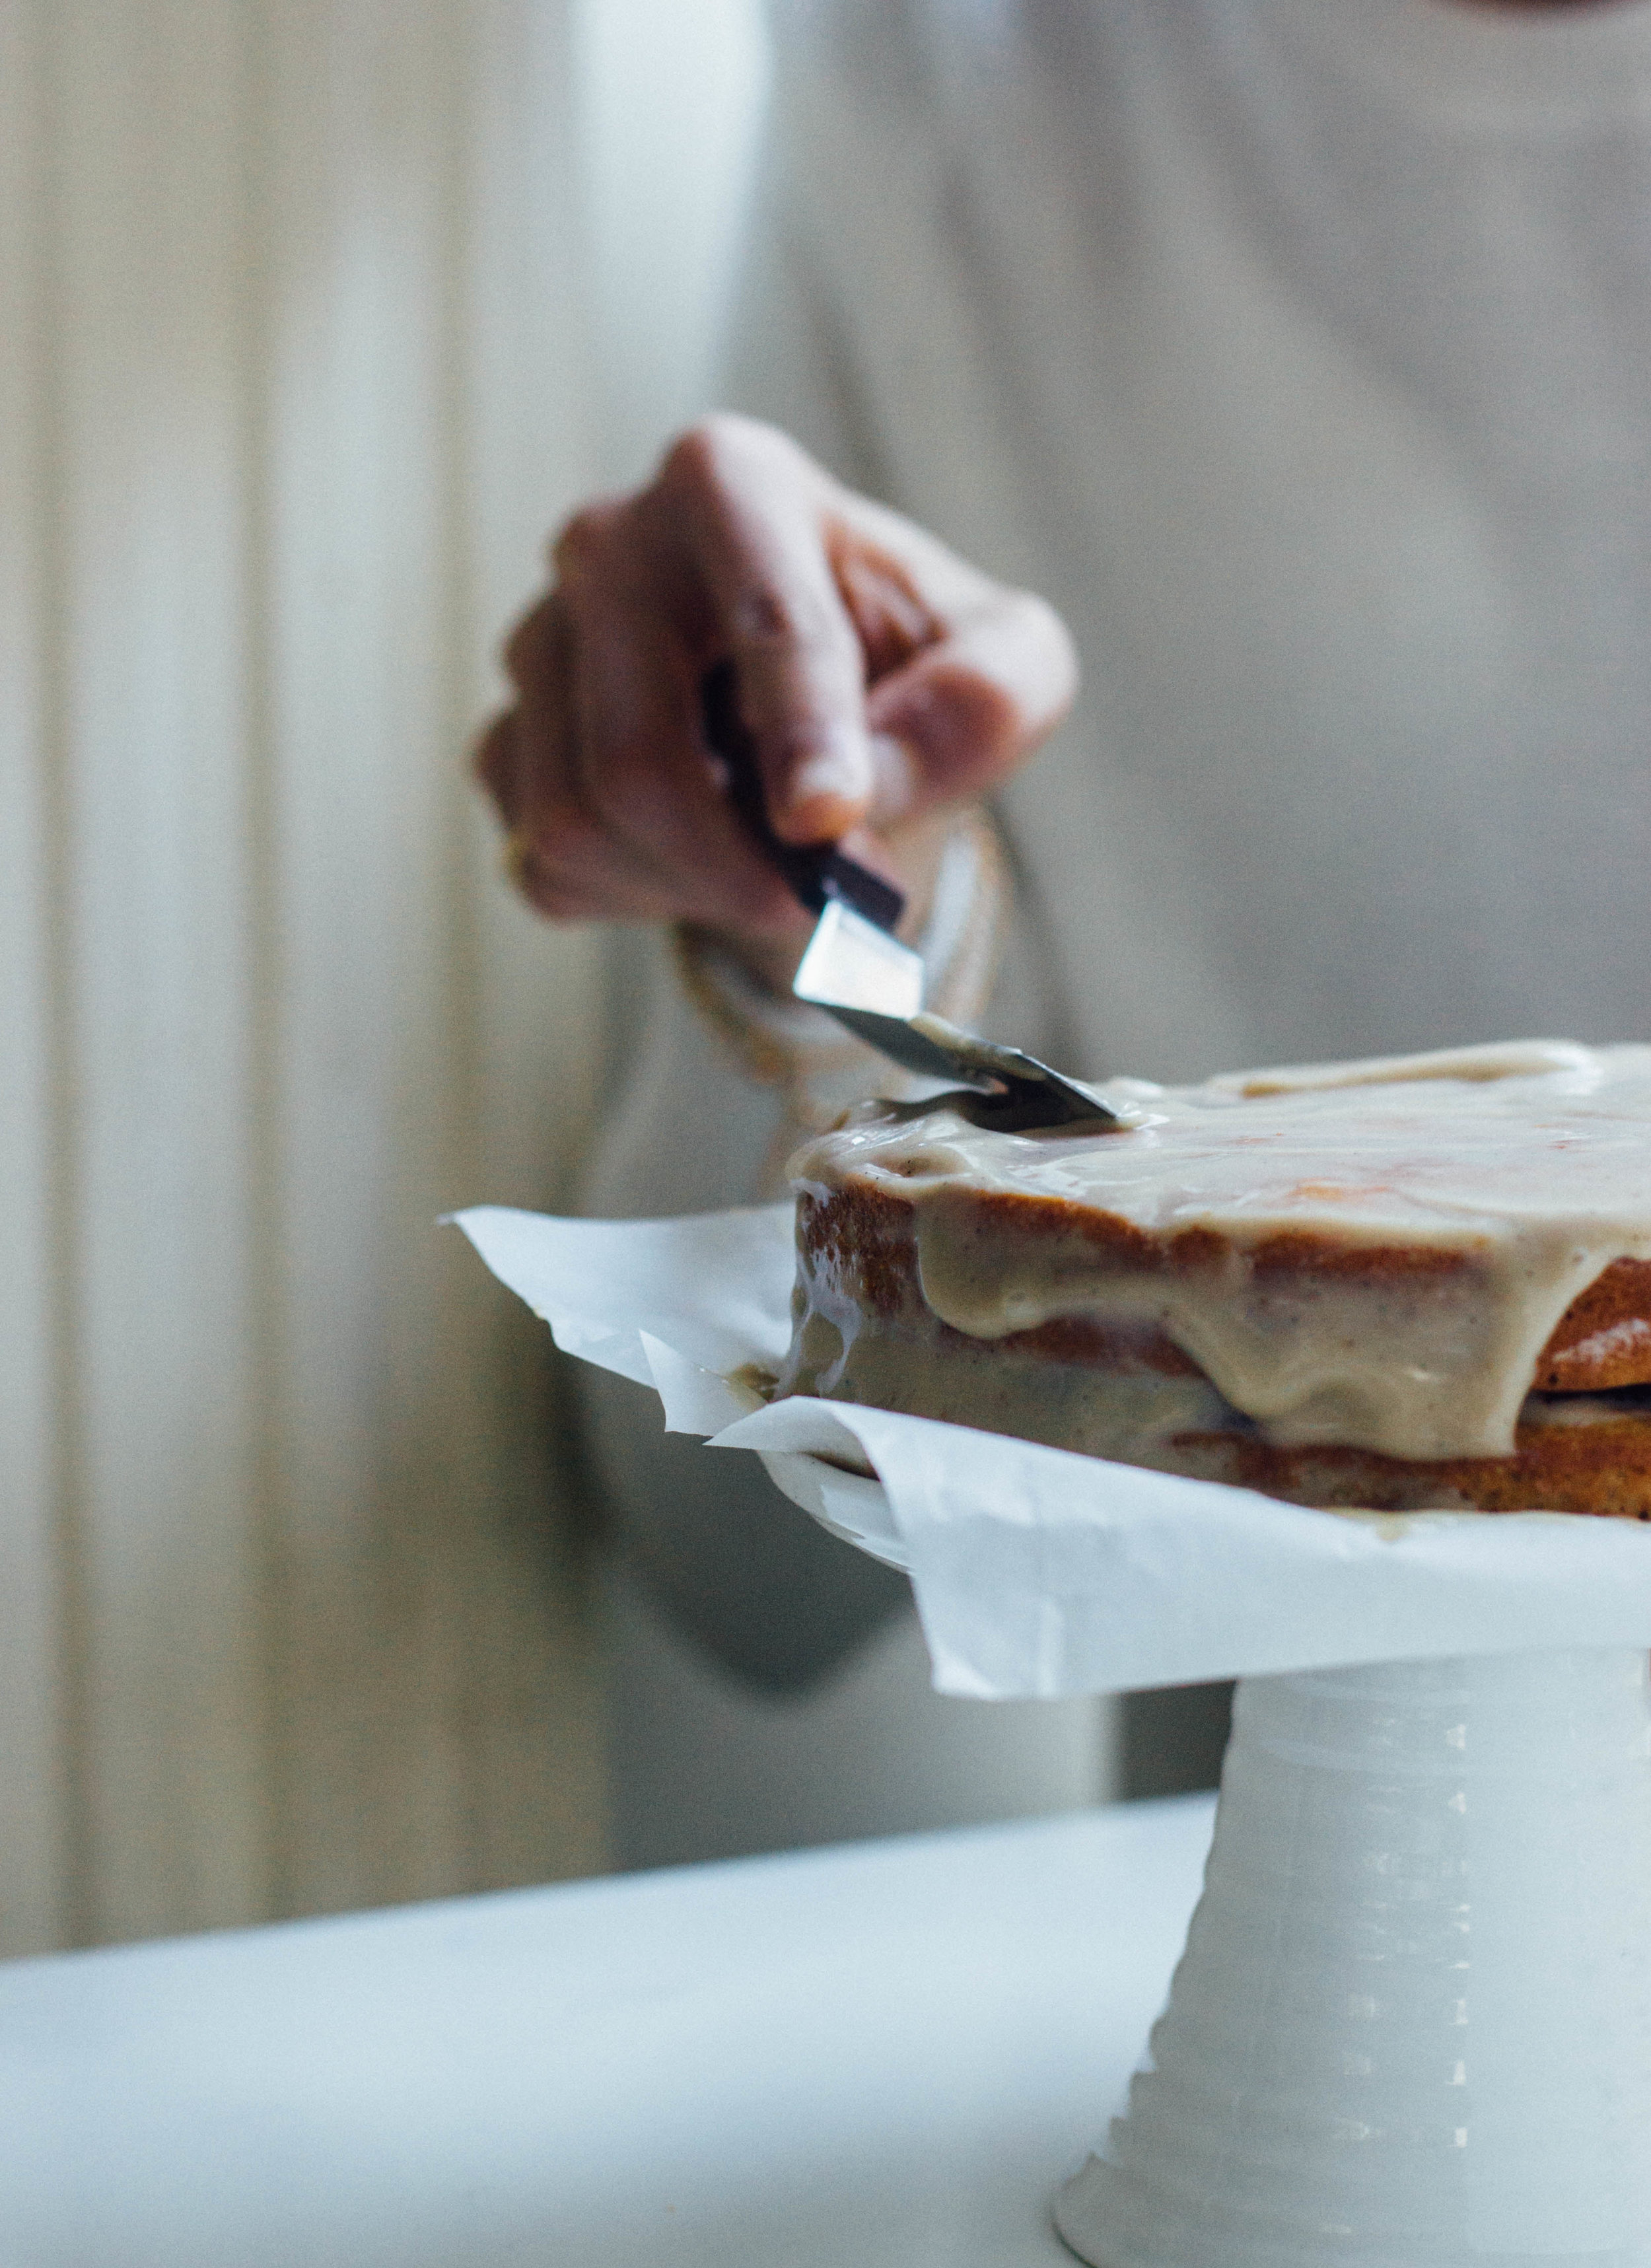
Take a small amount of frosting – about 4 tablespoons – and pile it on top of the upper layer. Using an offset spatula or small knife, push the frosting over onto the sides and around the sides. It’s ok if there are some crumbs in this first coat.
Once the two layers are lightly covered, allow the cake to rest in the fridge for about 5 minutes for that layer of frosting to set a bit. After a bit of fridge rest, continue to frost the whole cake.
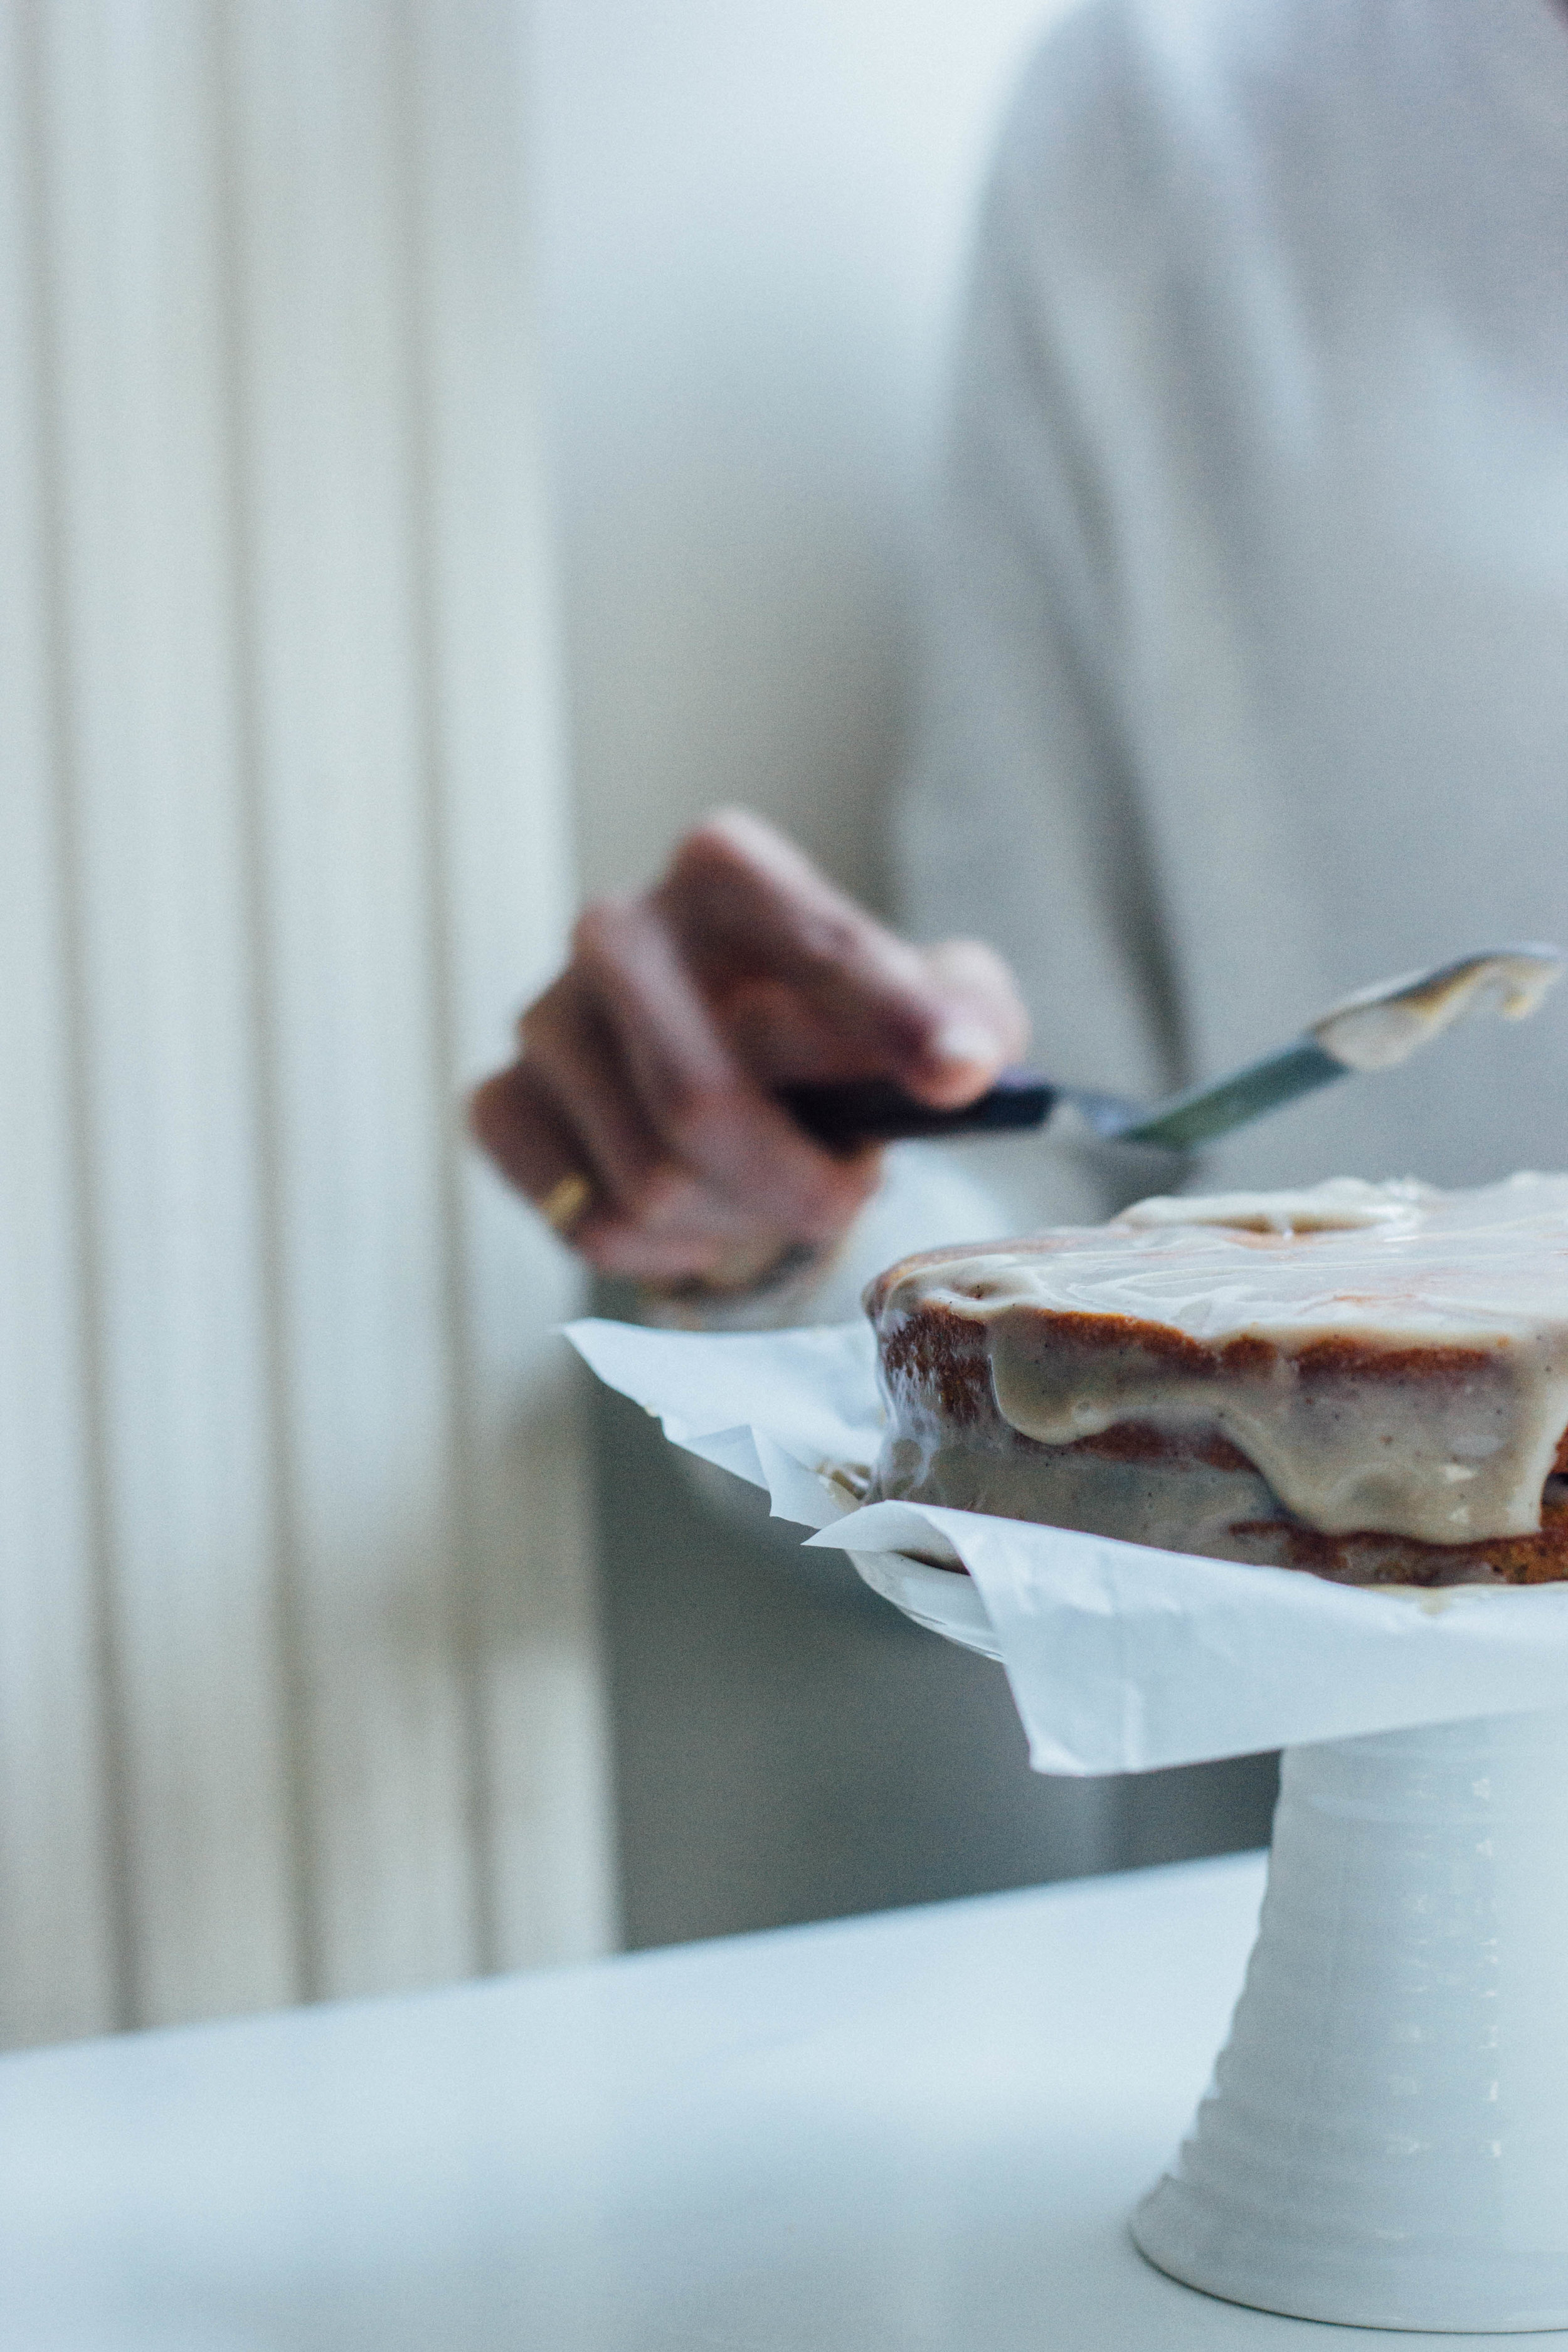
There are different ways to do this but usually I pile whatever frosting is left onto the top then push it down and over the sides, the mess collects on the parchment at the base. The frosting is much thinner than traditional buttercream so it will not be pipeable consistency, more of a drippy cake so the end result will be more ‘rustic’ but that’s the effect, so don’t worry about being too neat. You have an excuse.
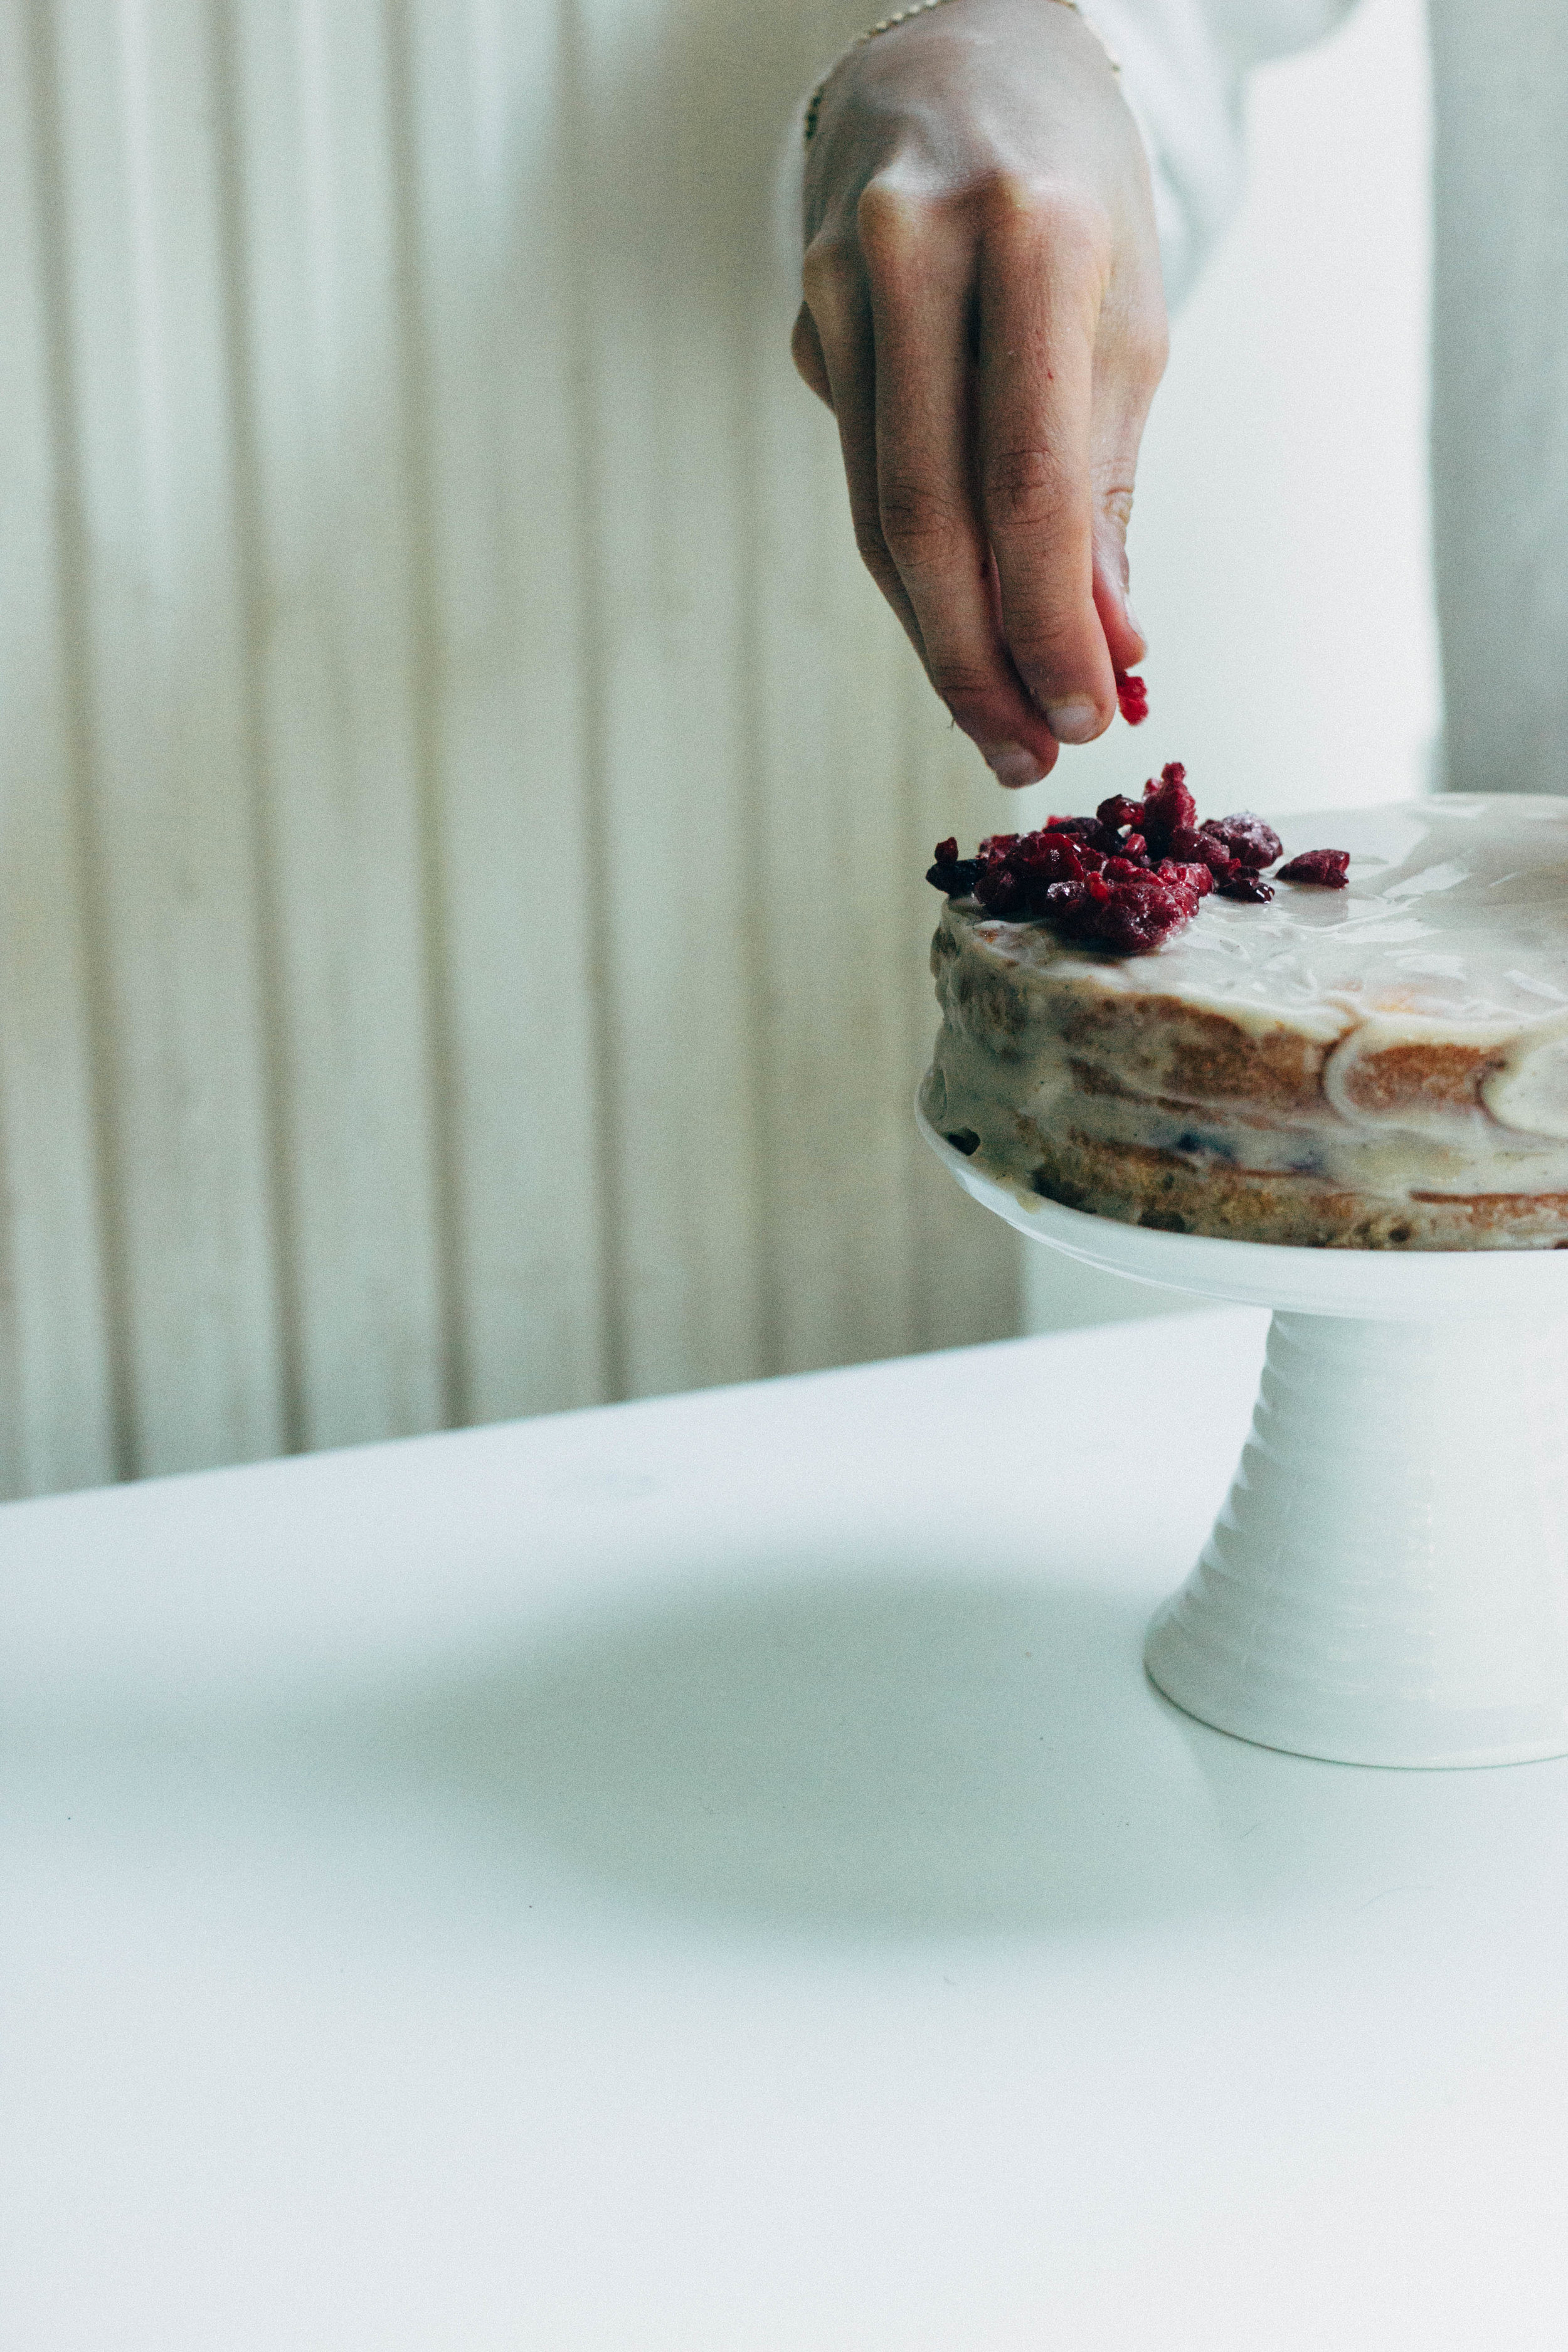
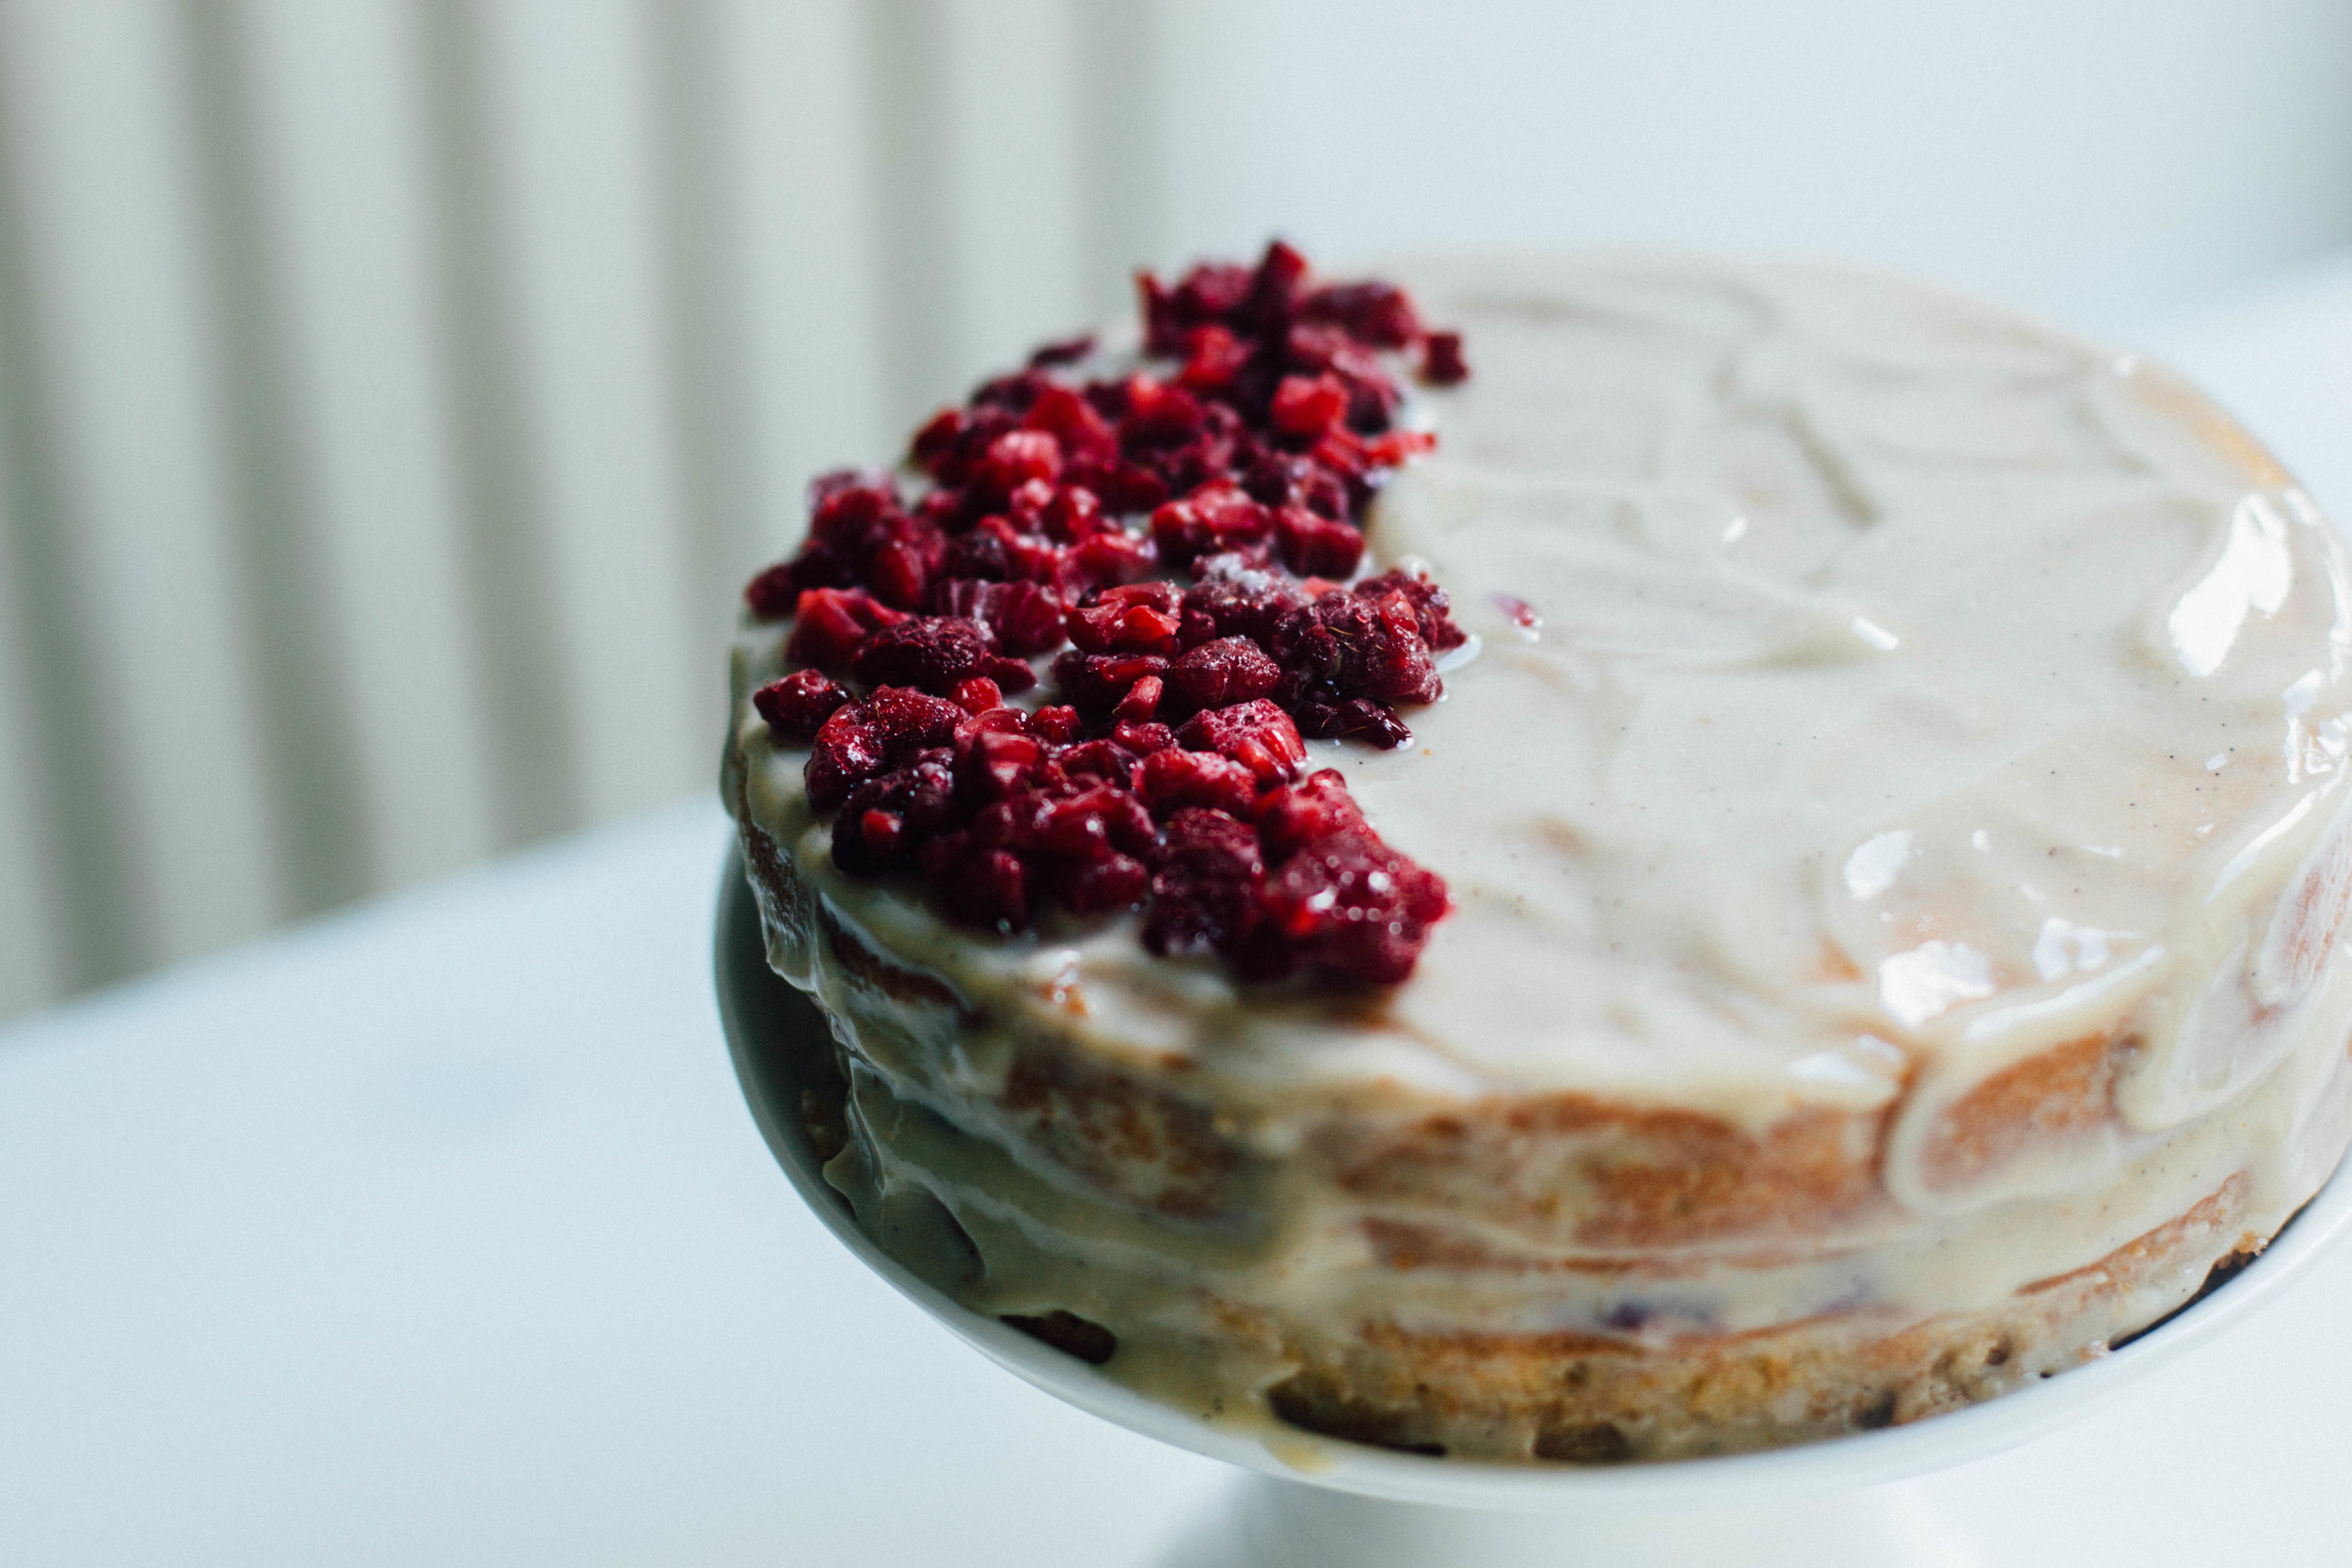
Once you’re happy with the top coat, remove the parchment paper from under the cake. Garnish however you wish.
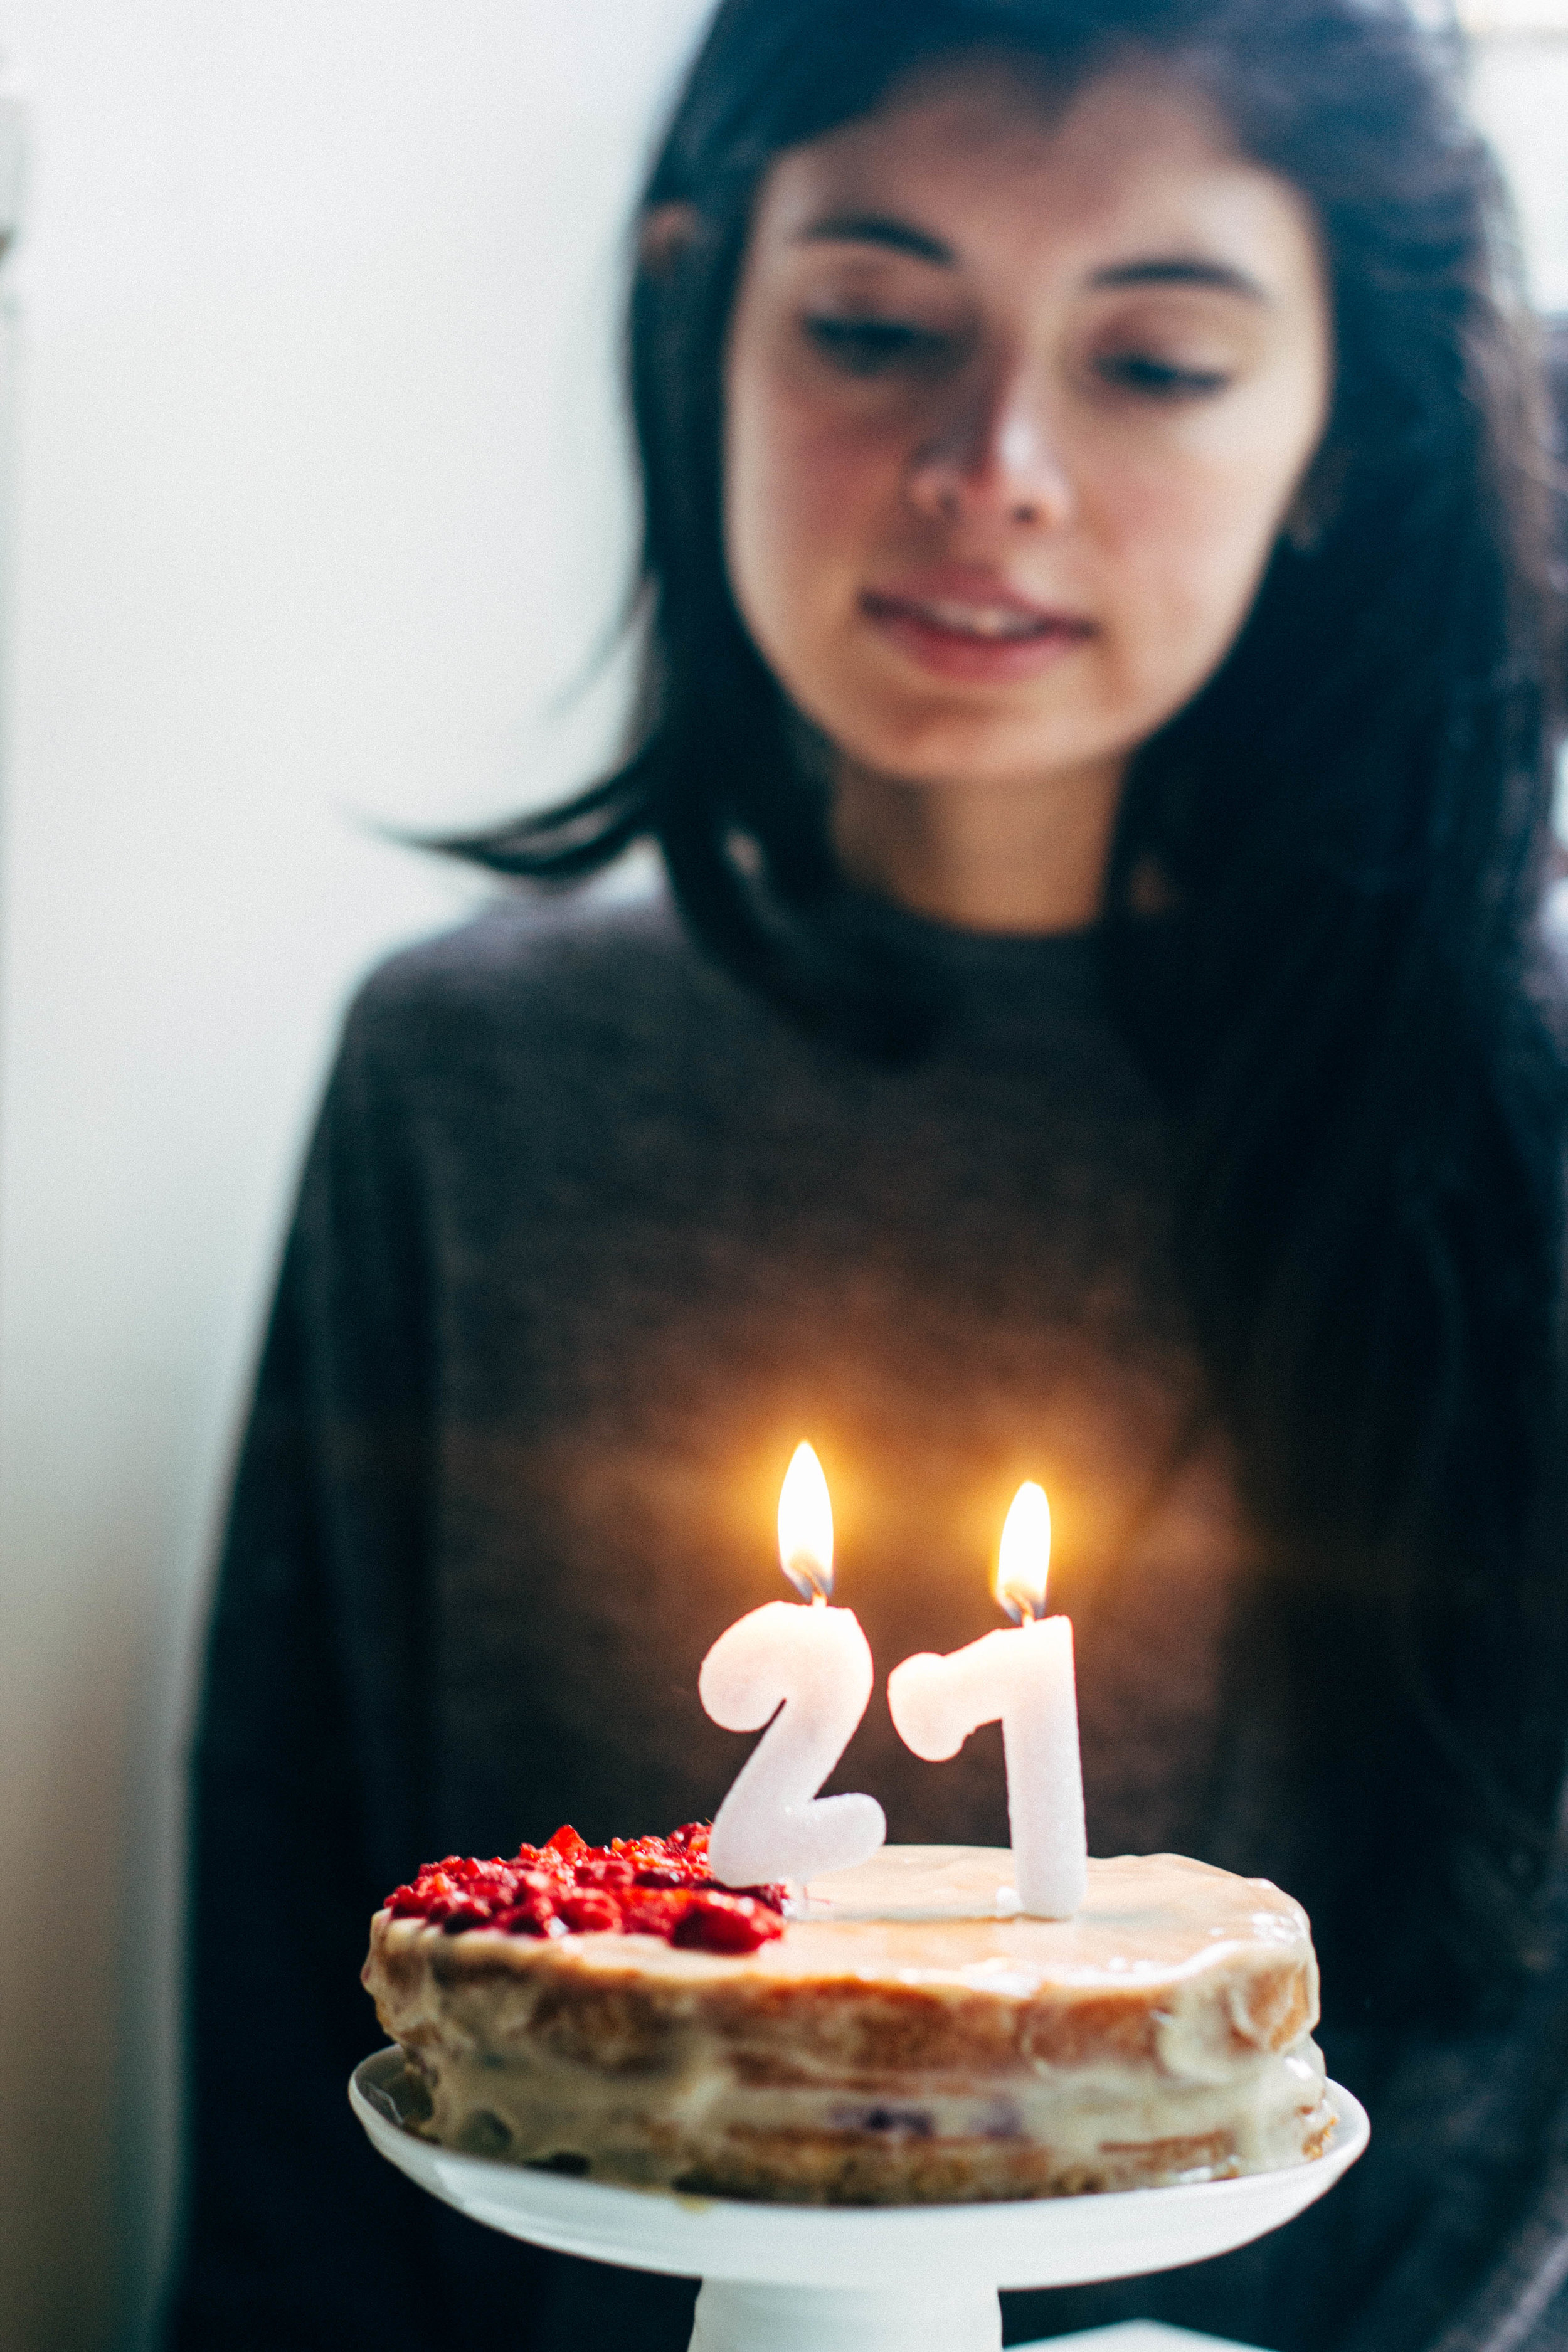
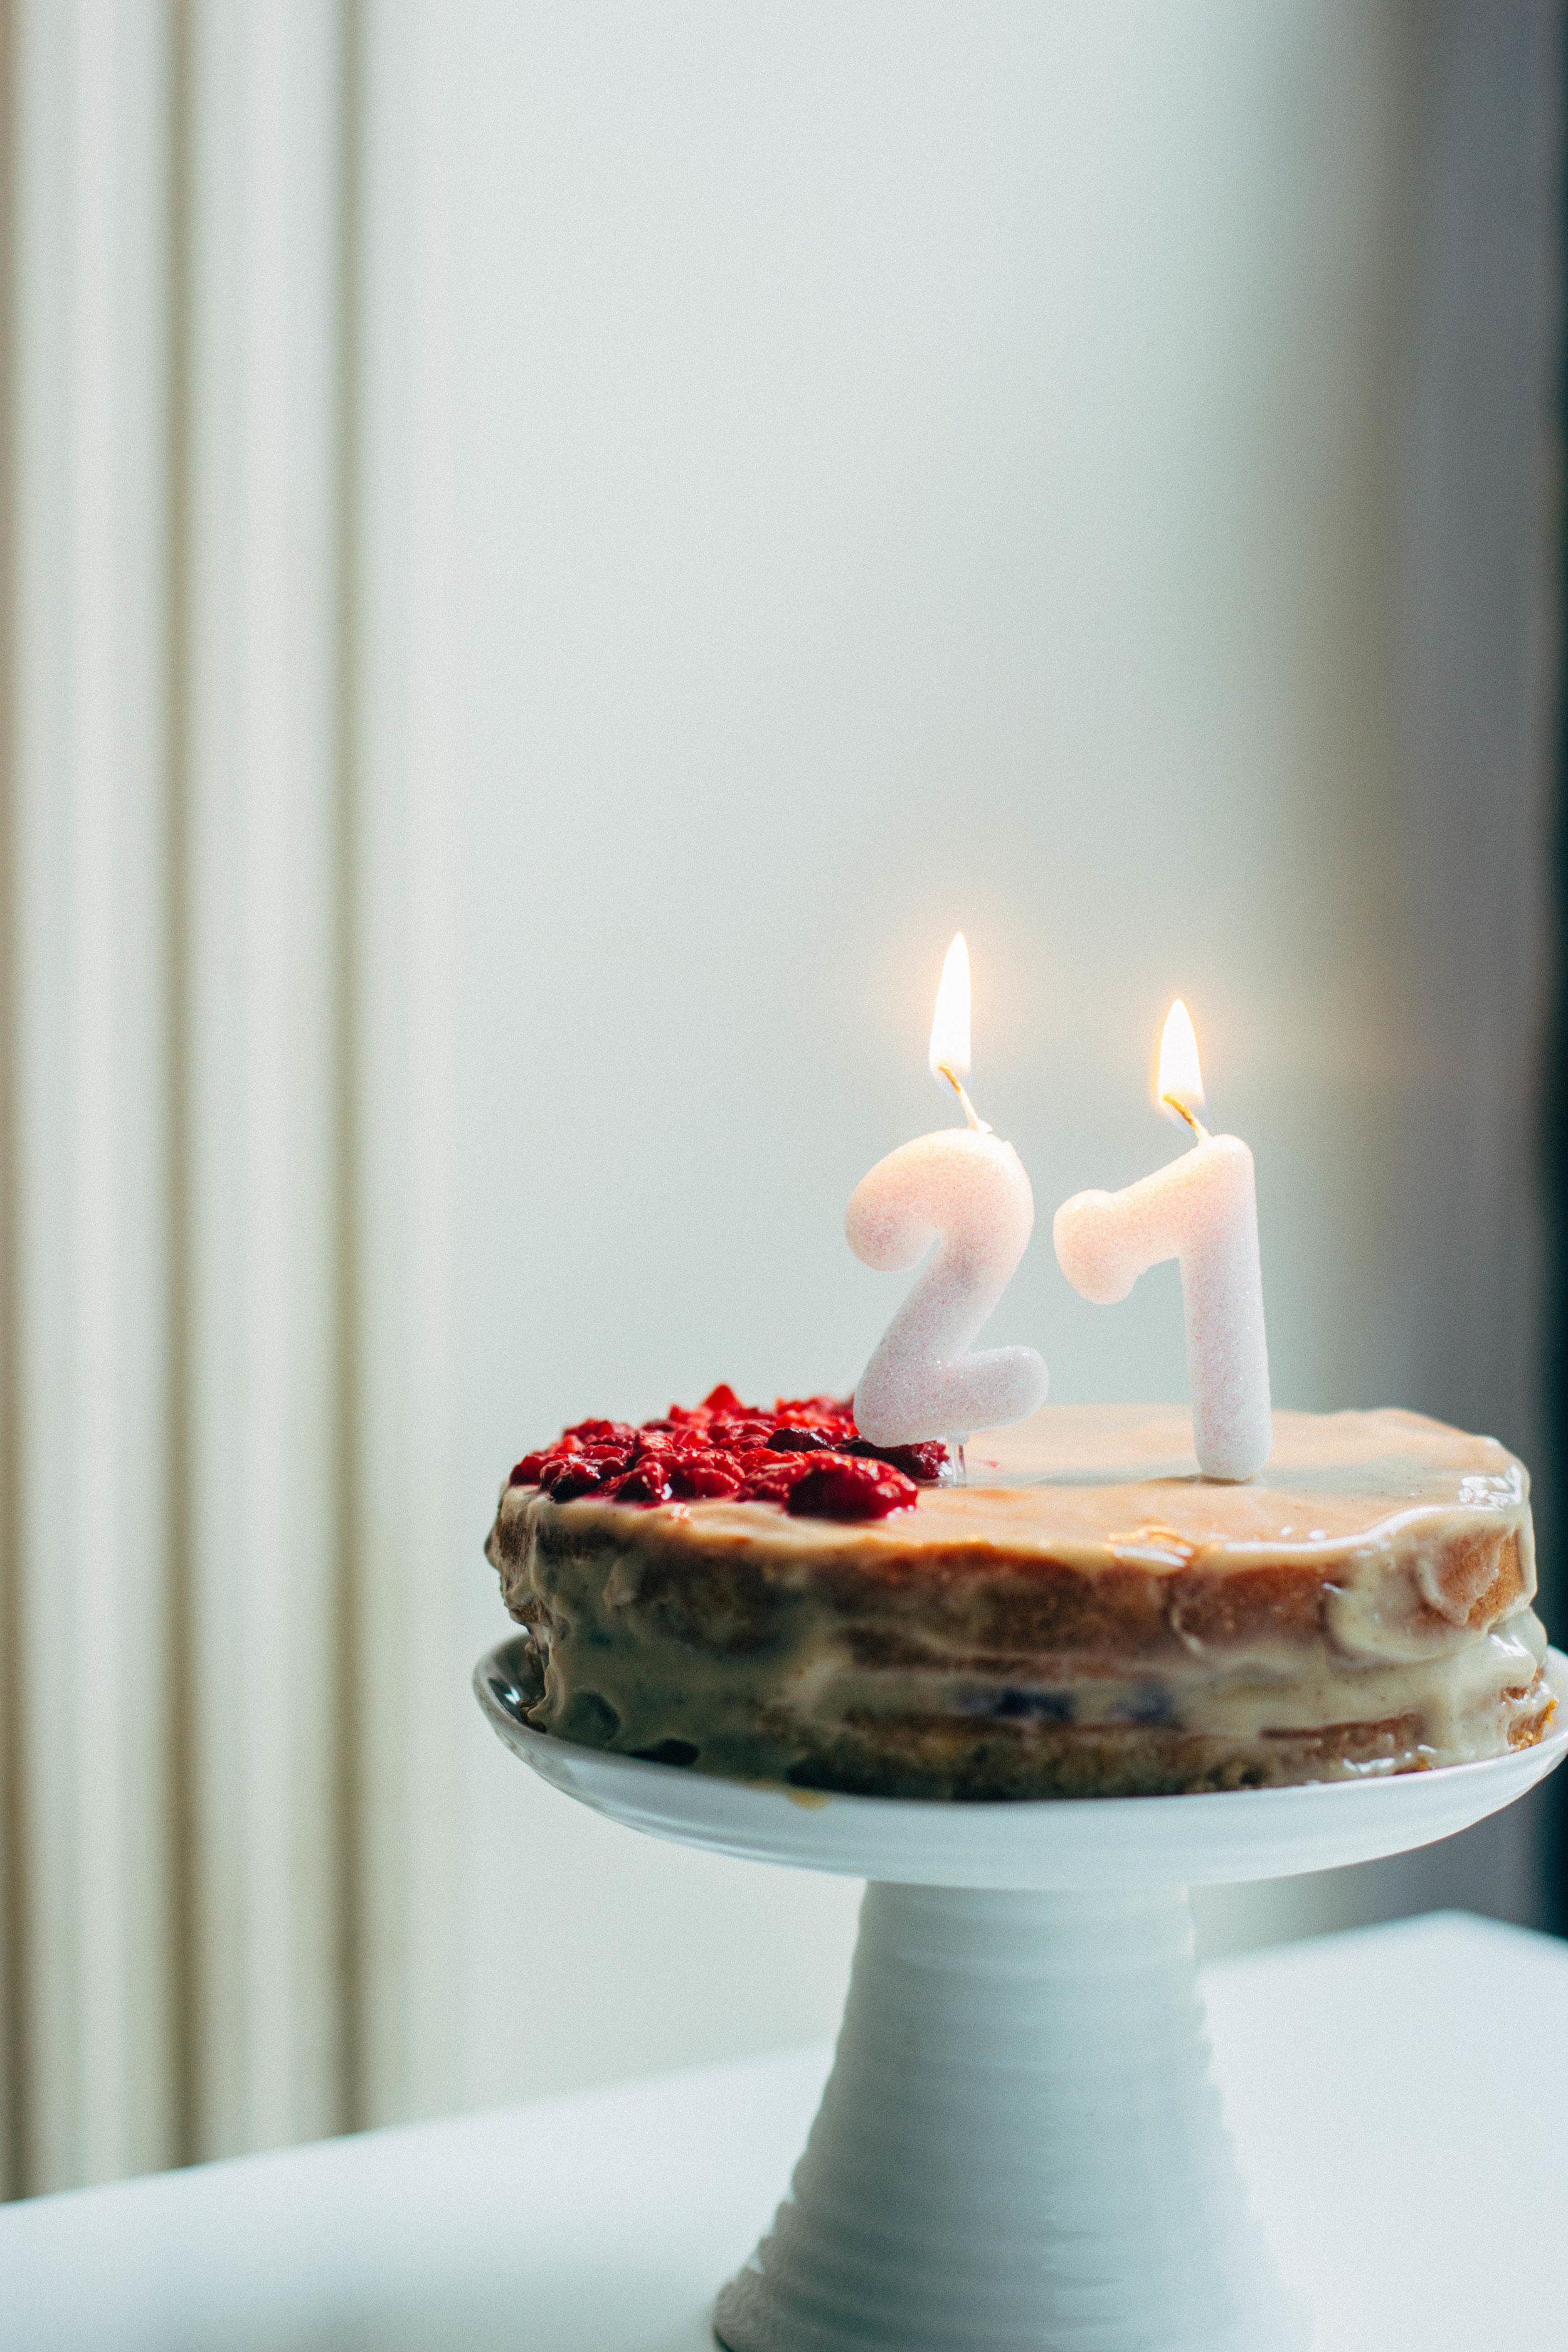
The cake will hold up ok, frosted in the fridge for a few hours. Bring to room temperature before serving. If you garnish with frozen raspberries serve the cake like, straight away, especially if candles have been on the cake, or pink juice will start to leak and that’s just sad. I did it, not smart.
The cake will also keep in an airtight container in the fridge for about 2 days, but almond meal does tend to absorb moisture from the frosting and then dry out.
baker's notes
* I just put about 1 cup (100g) of real chunky turbinado sugar in a food processor and process till it’s powedery. You can of course always use icing sugar, which will also be lighter coloured , as you can see mine looks almost caramel so if you’re after something really white, seek out some organic icing sugar.
** this guide on the kitchn has some useful visuals for beginners
As I mention, these cakes are tender so really benefit from an overnight rest in the freezer, which makes them handy to make ahead and assemble the day you’d like the cake.


